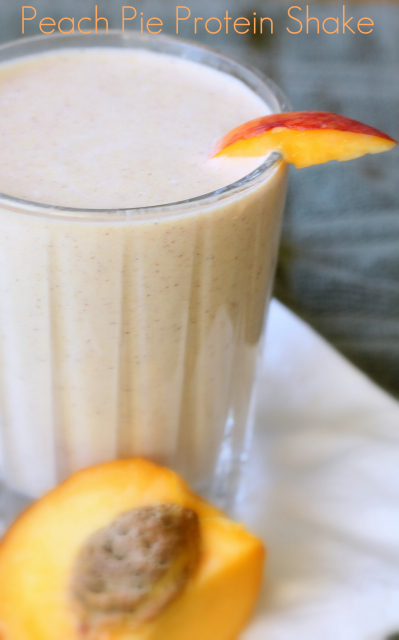
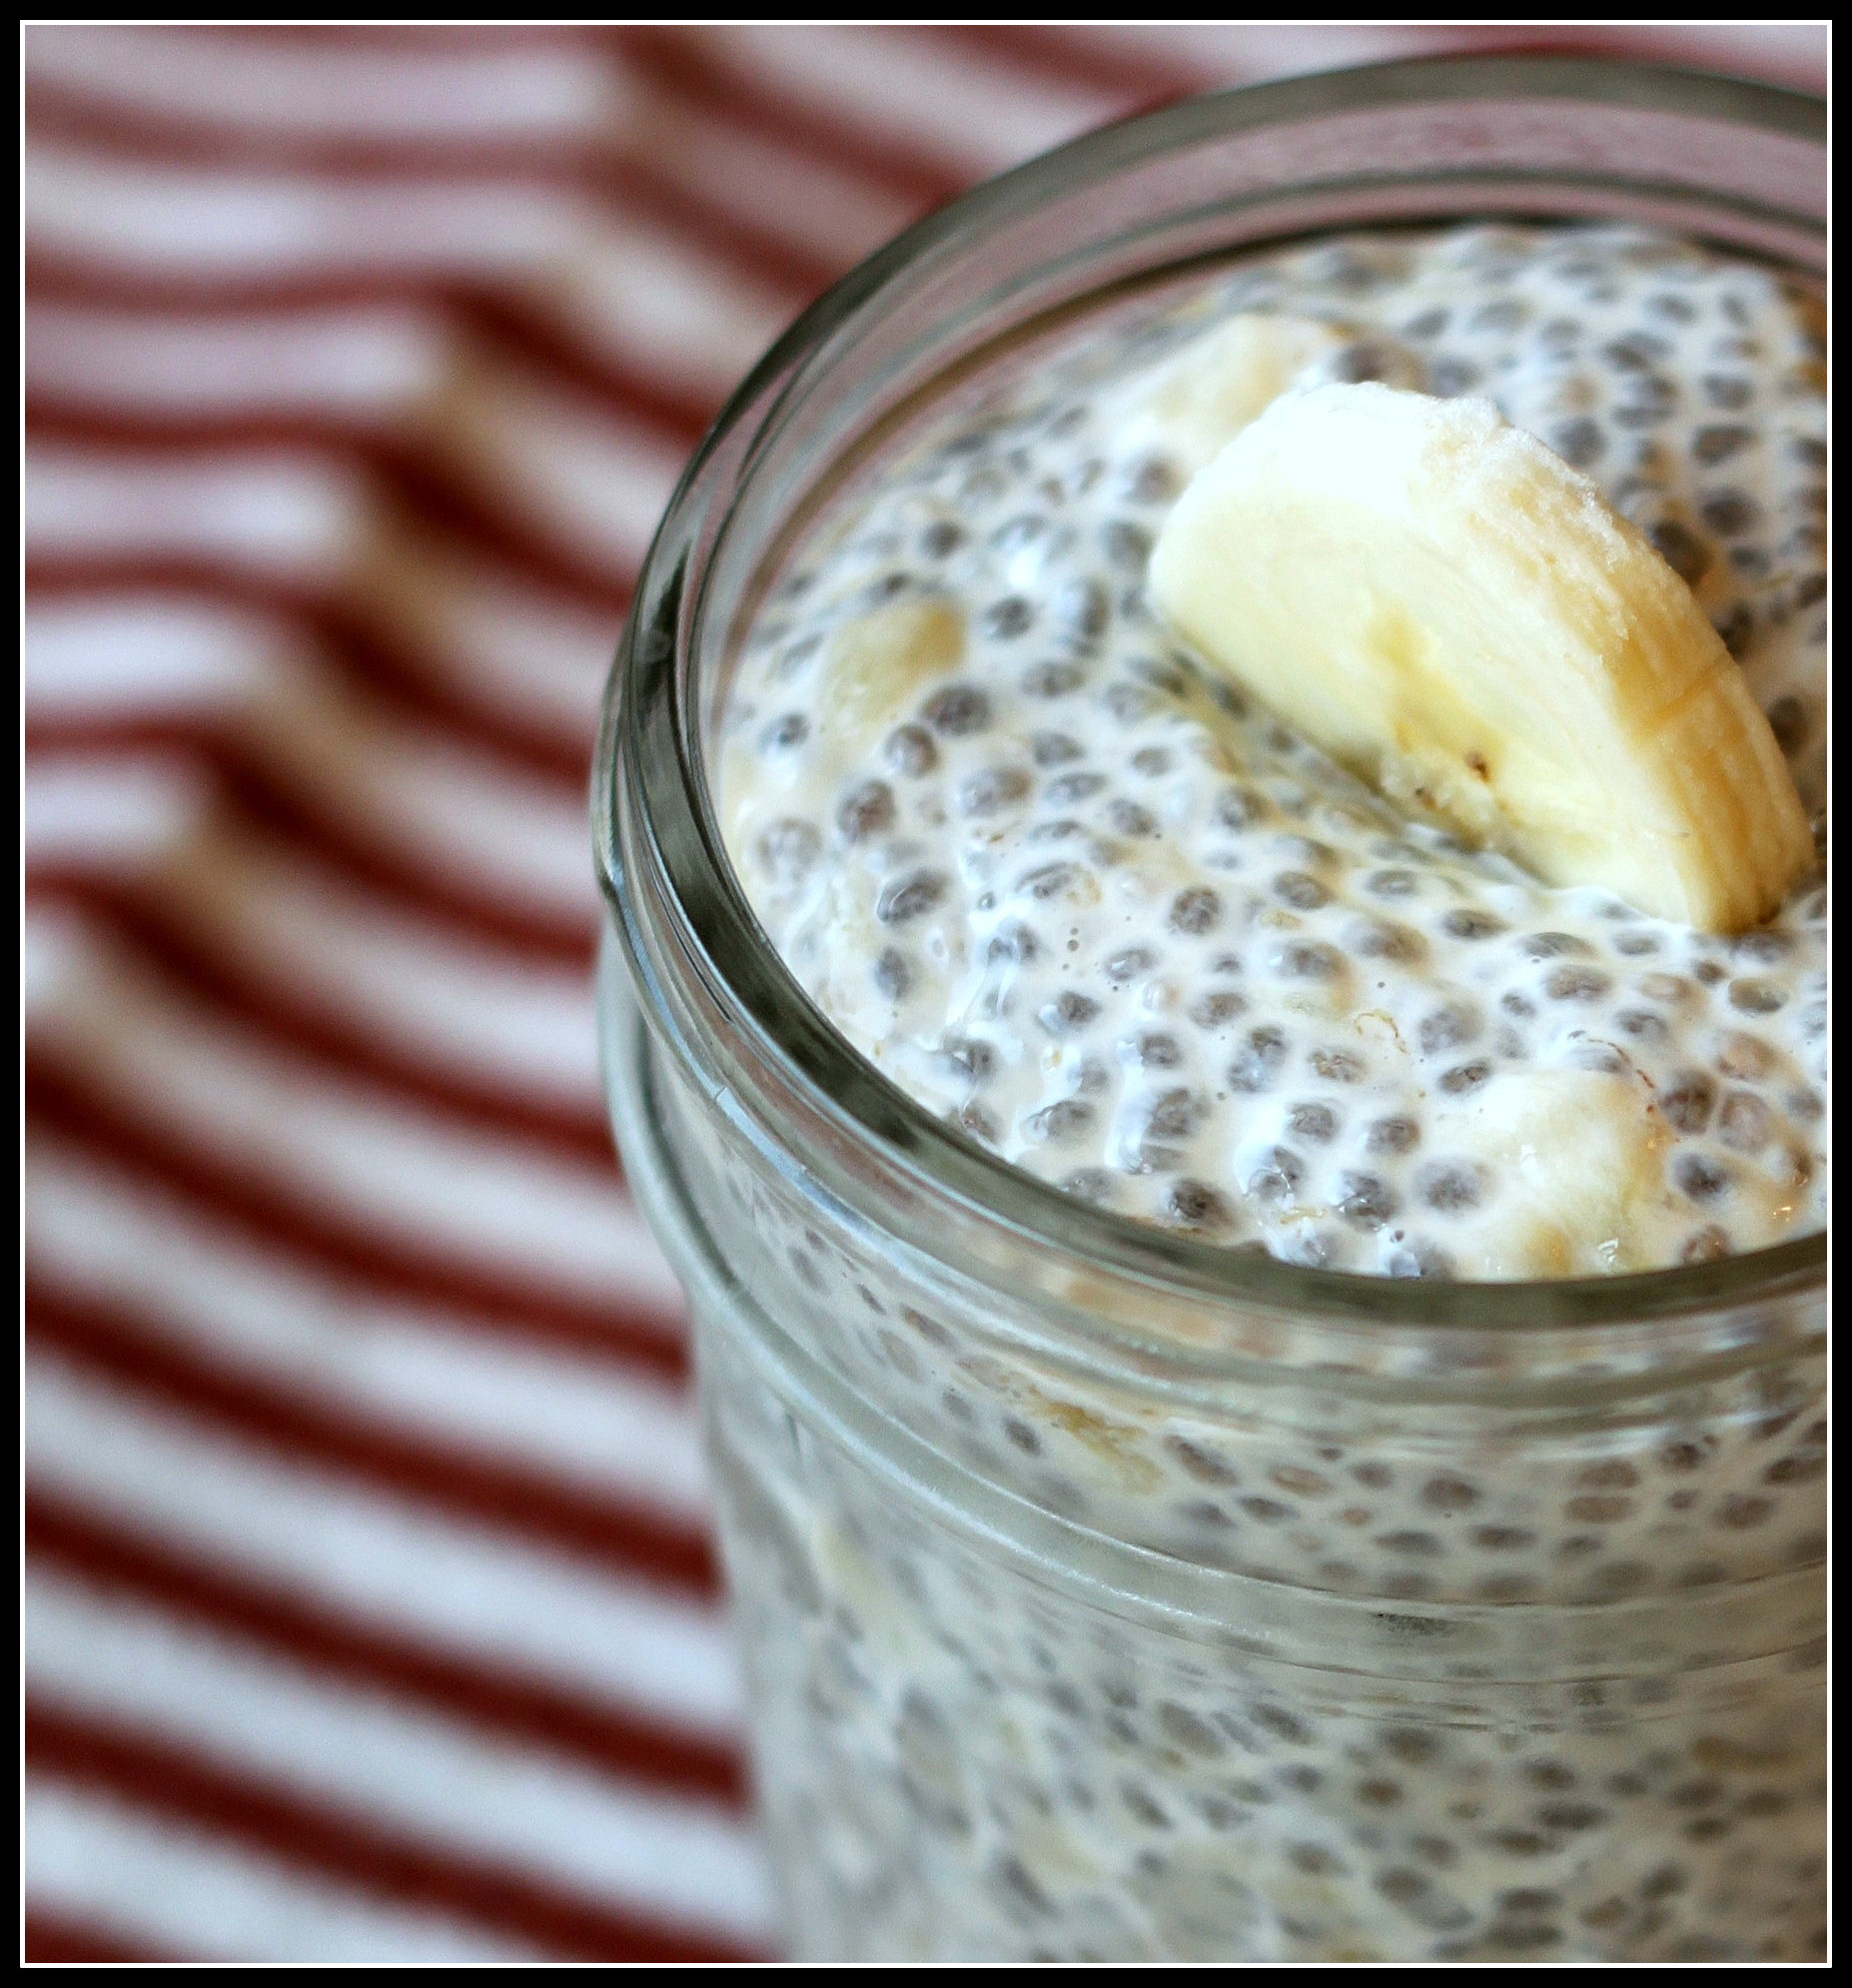
I’m a sweet junkie. I’ll never be able to give up sweets no matter what. I’ve tried and it’s never worked. So, in order for me to maintain a carb/sugar level that doesn’t make my Fitness Pal scream I have to come up with alternatives.
When I was pregnant with my second son I had gestational diabetes. It was awful considering I was also on bed rest due to pre-term labor and blood clots. Every night before bed I had to eat a snack to maintain my blood sugar levels through the night. Every night my husband/nurse would bring me strawberries and sugar-free Cool Whip. We figured out it was the perfect carb/sweet amount I needed to maintain my blood sugar and give me the sugar fix my pregnant body was craving.
If you have ever read the ingredient list on a tub of Cool Whip you know that most of the words are extremely hard to pronounce, a.k.a a chemical storm of ‘ingredients’. Although I was able to keep my sugar levels down with the sugar substitutes I was trading one evil for another.
Fast forward to now. I have zero time to put together low-fat/low sugar desserts that will quench my insatiable sweet tooth. Then it dawned on me, if I cut up a ton of strawberries on Sunday and come up with a low sugar, whole ingredient alternative for the whip cream I used to enjoy I would be set. Then another light bulb precariously teetered above my chemistry and anatomy swollen brain, I have an Isi whip cream dispenser. That would aid in the instant gratification need. So, long story short this super simple quick recipe was born. Yes, you do need a whip cream dispenser, but trust me it’s worth every penny.
Click the whip cream canister image to be directly taken to amazon to purchase!
Sometimes it’s the simplest things in life that make your day. A smile from someone, a cat purring loudly in your face or even food. I hate to admit it but food makes my day quit often. Lately I have been on a tirade with Thai food.
I can not get enough Thai food. Curry, coconut milk, tamarind, spicy everything. If I was stranded on a desert island I could eat Thai food the rest of my life. Oh wait, isn’t Thailand a ton of islands? I want to be deserted on any one of them. Now.
In the meantime, I will have to live with making my own at home.
Since the weather has gone from quadrapolar (yes I made that up), can’t decide what season to be, to I live in an oven hot, cold food is a must. Cold Thai inspired food equals perfection right now.
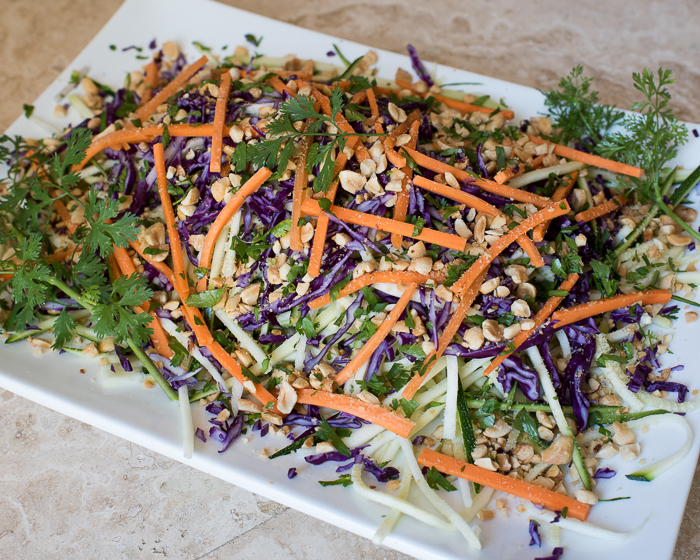
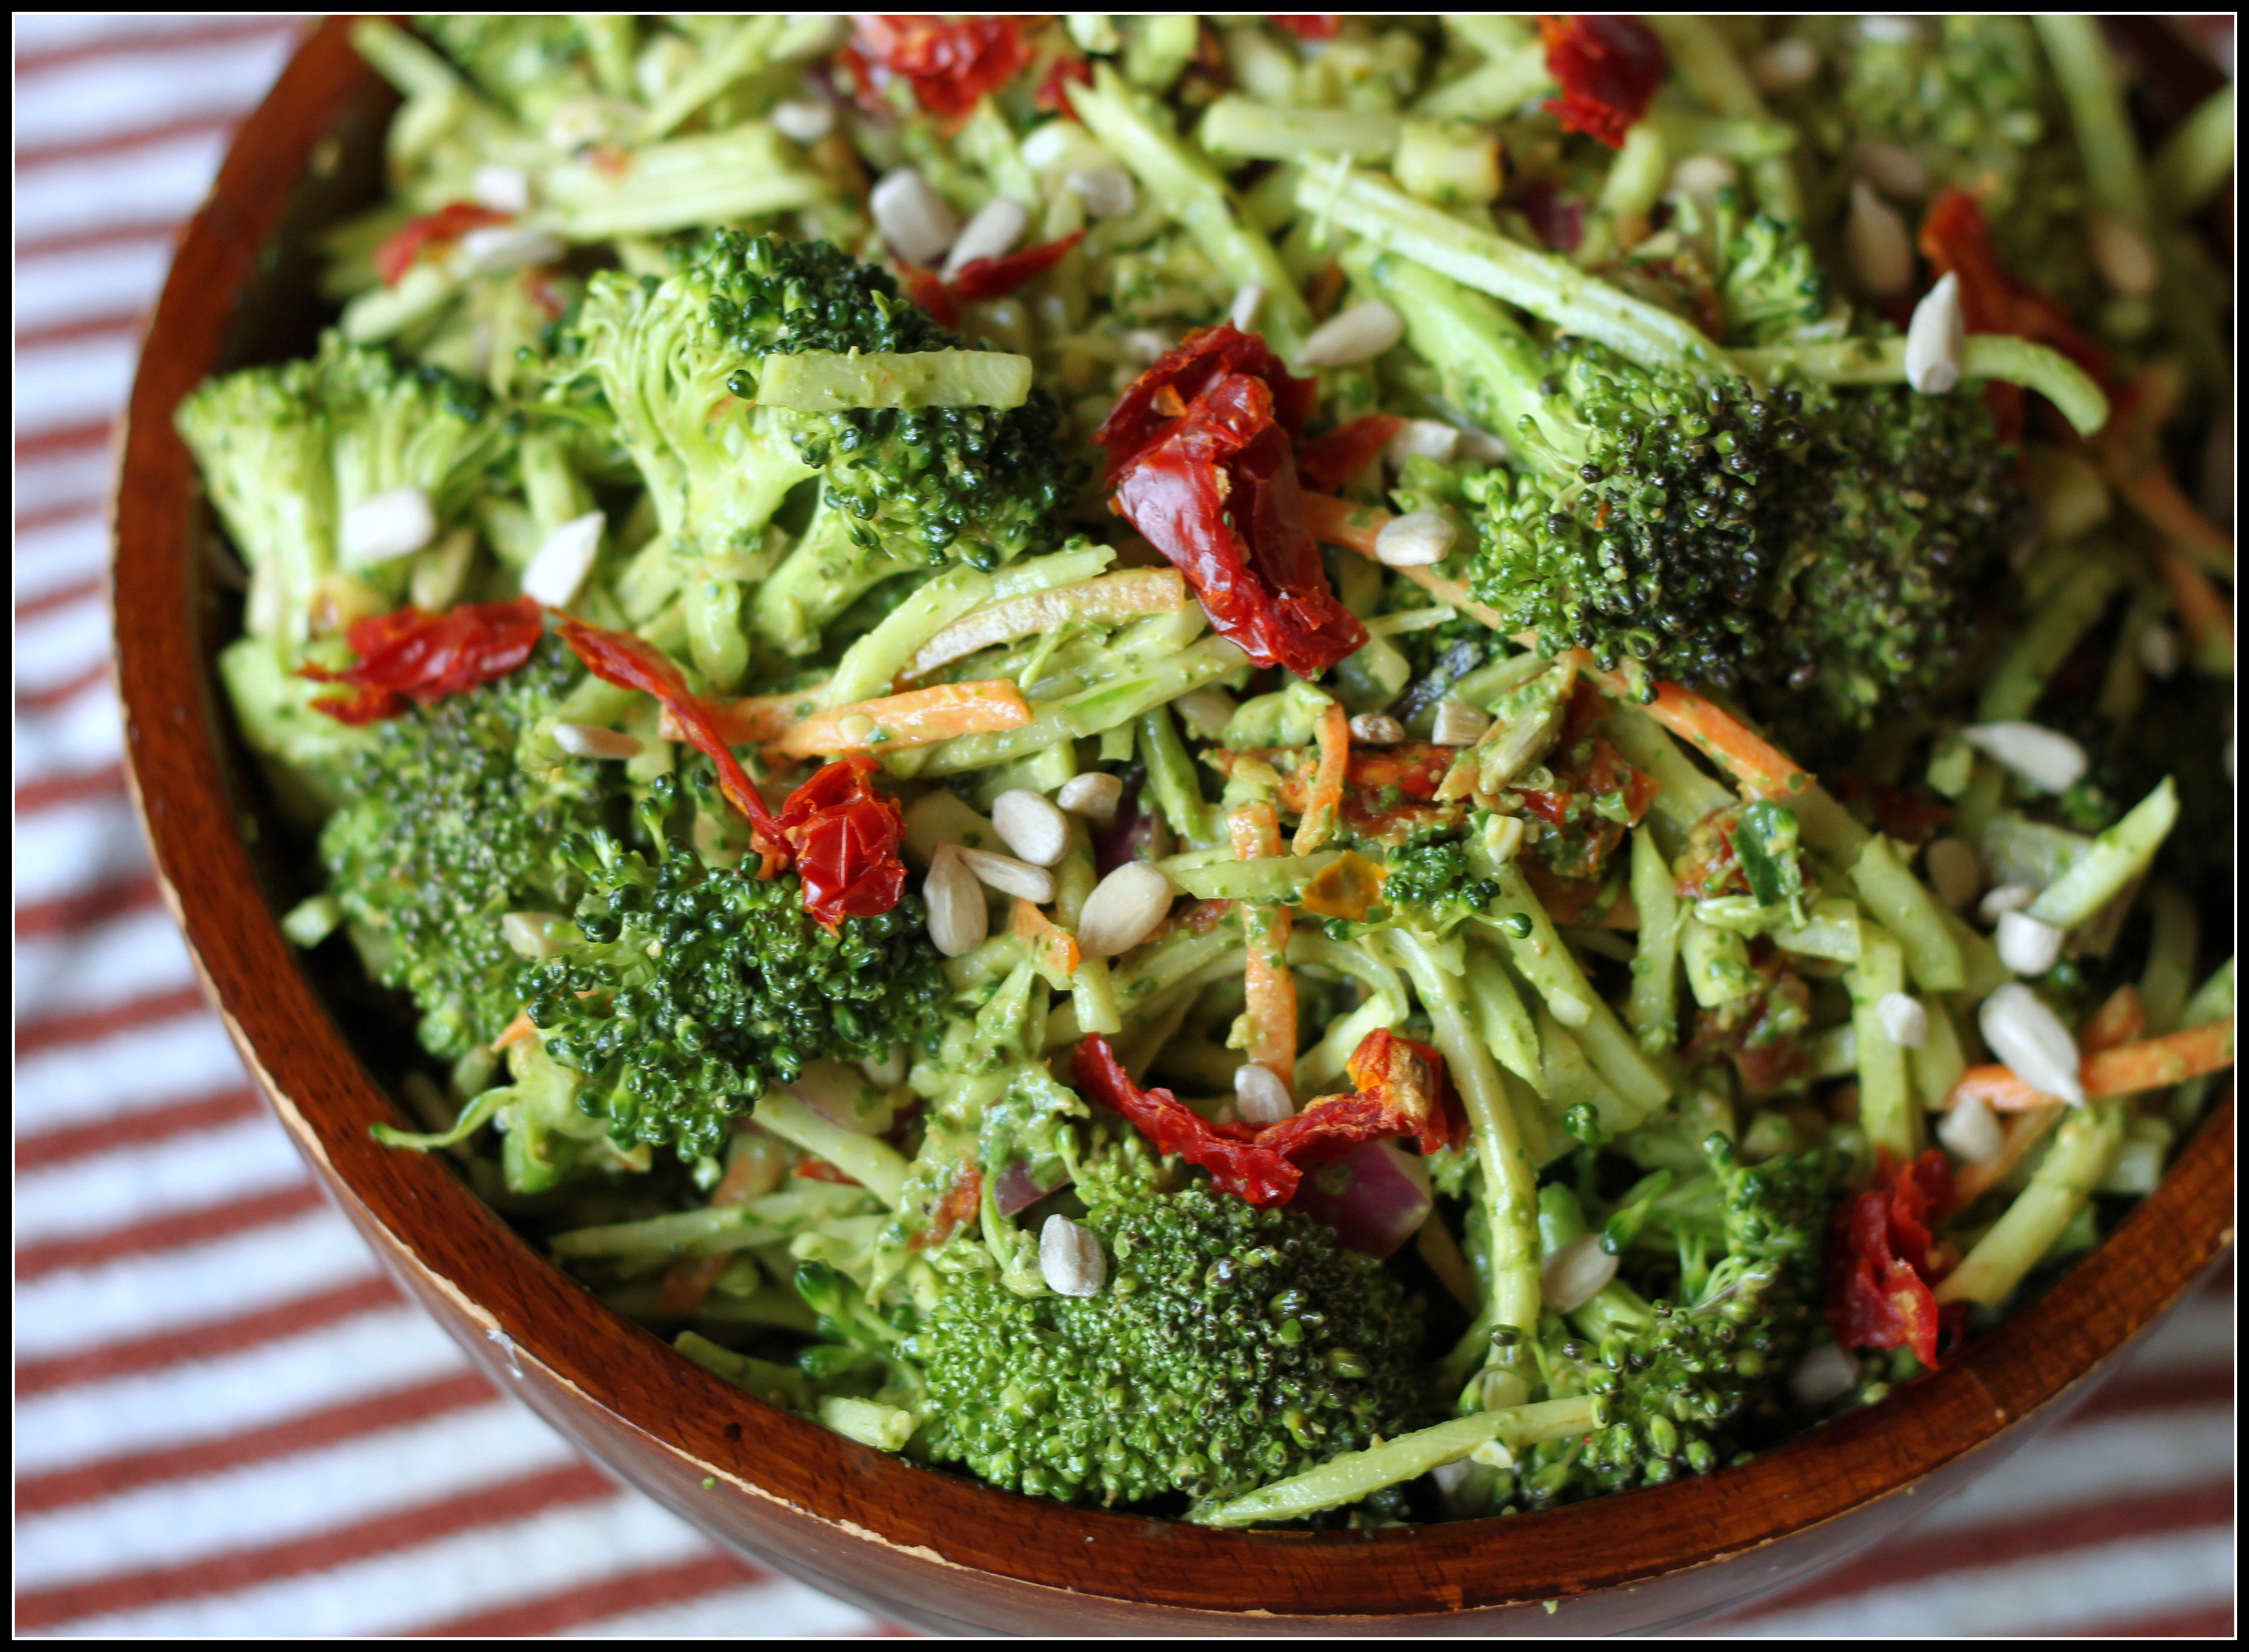
Recently my Inland Empire Food Blogger posse came over to share their newest salad creations with me. I am incredibly lucky to have such talented friends that make to die for food. I brought this Asian beauty to the table, literally.
My addition was quick, refreshing, spicy, salty and slightly sweet. You can add grilled chicken to the salad to make it a complete meal. Whatever you do to this salad just make it. The dressing is to die for and will quench any Thai cravings you have. Since it’s low in carbs you can have as much as you want! Dive in fork first!
Here are the links to the other great salads my friends brought:
3 zucchini, spiralized or julienned into long spaghetti like strips ( I used a mandolin)
¼ head of red cabbage, shredded
1 large carrot, julienned
2 tablespoons chopped cilantro
¼ cup crushed roasted unsalted peanuts
grilled chicken (optional)
For the dressing:
2 teaspoons fish sauce
2 tablespoons tamari or low sodium soy sauce
1 tablespoon honey
2 cloves garlic, minced
½ teaspoon red pepper flakes
3 tablespoons rice wine vinegar
½ teaspoon ground coriander
1 tablespoon sesame oil
Instructions
Whisk all dressing ingredients together and refrigerate for an hour.
To assemble Salad:
Layer the noodles on the bottom, then the cabbage, the carrots, the cilantro, and then the peanuts. Right before serving drizzle the dressing over the salad. For best results, mix dressing into the salad to coat evenly.
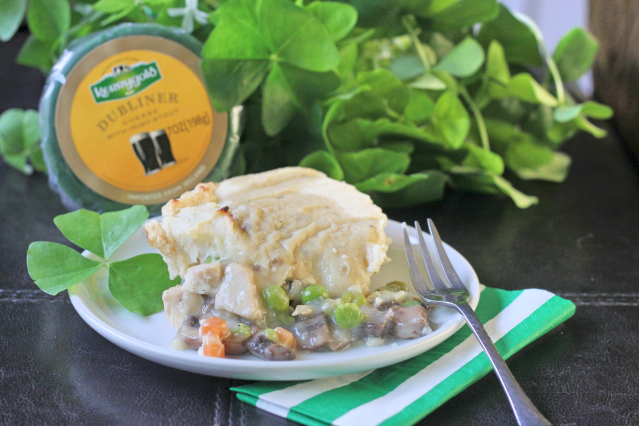
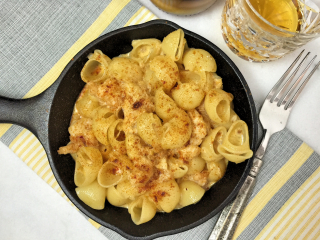
Top of the morning’ to ya! Or afternoon, not sure what time of day you are reading this, but this is one recipe you will want to make. I started making this a few years ago as a solution to a dinner time problem. One of us wanted healthy, the other wanted hearty.
My gluten-free Shepherd’s Pie became the solution to that problem. Although it’s undergone many makeovers since first conception of the dish, I have settled on this version as my favorite. The best part is the loaded cauliflower mash that adorns the gluten-free chicken and veggie filling. The mash is filled with Kerrygold unsalted butter and their Dubliner with Irish Stout. This Shepherd’s Pie is the perfect healthy St. Patty’s day dinner.
If you read my last post you know that today is the LAST day to enter the Kerrygold Cheese & Butter gift basket worth an estimated value of $175! Enter below!
Slimmed down version of Shepherd's Pie, full of chicken & vegetables, topped with a Dubliner Stout Cauliflower Mash.
Ingredients
Cauliflower Mash
1 head of cauliflower, core removed and steamed
⅓ c. crumbled Kerrygold Dubliner with Irish Stout Cheese
2 tablespoons unsalted Kerrygold Butter
1 teaspoon salt
¼ teaspoon white pepper
Filling
2 chicken breasts cut into one inch cubes
1 tablespoon Kerrygold unsalted butter
1 shallot, diced
2 garlic cloves, minced
10 ounces baby portobello mushrooms, sliced
1 carrot, diced
½ cup frozen peas
1½ cups chicken broth
1 tablespoon worcestershire sauce
2 tablespoons arrowroot powder
2 tablespoons chicken stock
½ teaspoon dried thyme
sea salt and pepper to taste
Instructions
Cauliflower Mash
In a food processor pulse the cheese until it crumbles into very small pieces
add in the rest of the ingredients and puree till smooth. Set aside
Filling
Preheat the oven to 425 degrees.
Melt the butter in a large pot.
Add the mushrooms and a few pinches of salt to the pot and cook on medium high heat for 3-5 minutes, or until the liquid from the mushrooms disappears.
Add the shallots and garlic an sauté for another 2 - 3 minutes, or until shallots are softened.
Add the peas and carrots, stir to combine.
Stir in the chicken broth and worcestershire sauce
In a small bowl stir together the 2 tablespoons of chicken broth and arrowroot till smooth.
Reduce the heat to medium low and combine the arrowroot mixture with the veggie and chicken mixture stirring constantly, cooking for about 5 minutes on low heat until the mixture thickens. Season with salt and pepper.
Pour the veggie chicken mixture into a medium sized baking dish (9X9).
Top the veggie chicken mixture with the cauliflower mash, cover the filling completely.
Bake for 20 -30 minutes or until the mixture begins to bubble.
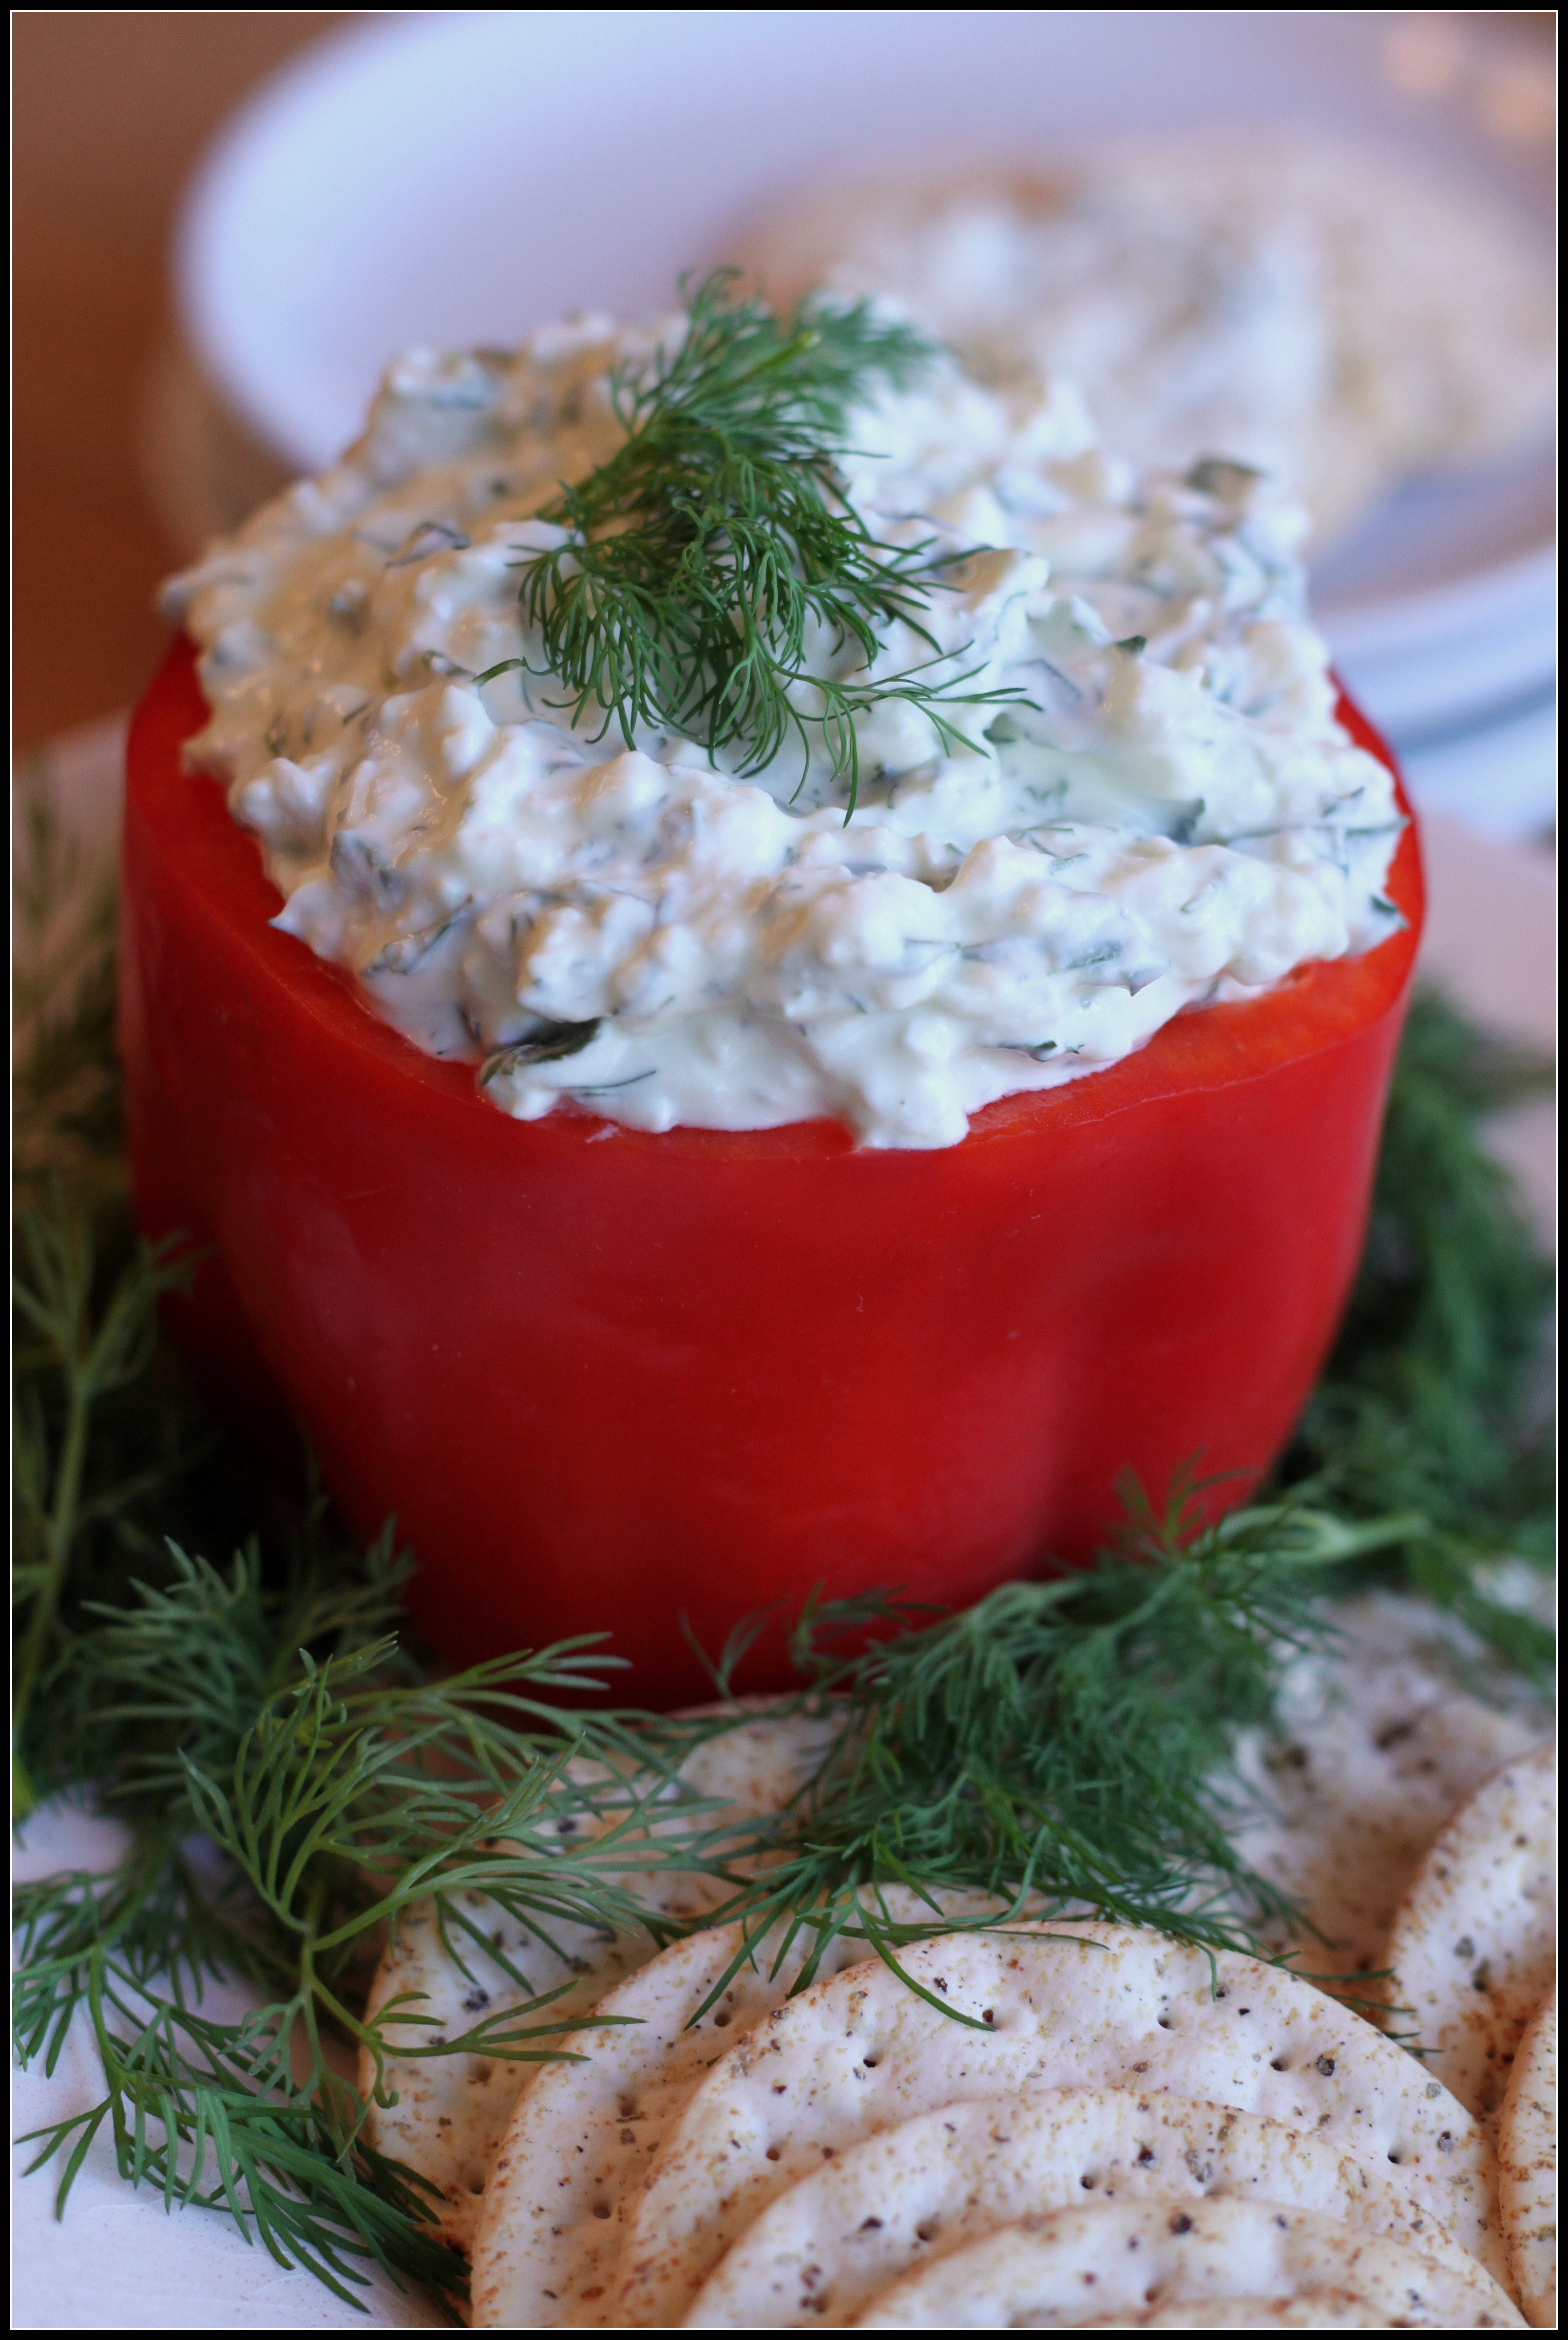
Deviled eggs are a pretty popular contribution to Easter celebrations. Mostly because of the crazy tradition of hiding and finding hard boiled eggs in grass and dirt. Who started this crazy tradition? The germaphobe in me cringes. If your household is like mine there is an abundance of hard boiled eggs looking for new uses after the binge eating is over. There is the obvious egg salad, or as an ingredient in a cobb salad. My favorite use is the deviled egg. Usually I am a very simplistic lover of the deviled egg. The less fuss and simpler the ingredients the better, but I love a challenge. I was recently asked to take part of an amazing giveaway with Kerrygold cheese and butter. If you have never have a KG product you need to remedy that situation ASAP. Their products are made from cows that graze on grass in the hills of Ireland. Happy cows. Grateful cows, that make their product with love that you can taste.
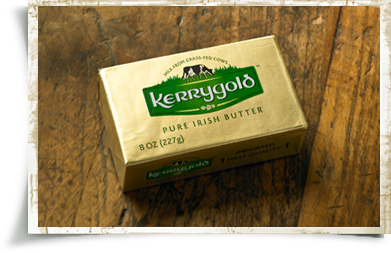
photo courtesy of kerrygoldusa.com
I’m sure you are wondering if cows eating grass makes a difference. I can say empathically that it does. The old saying “You are what you eat”, not only applies to the cows, but to us as we eat the byproduct of what they eat. The taste is cleaner than butter and cheese made from a grain fed cow. Not only is the taste better, but there are health benefits to eating the products of grassfed cows. The butter is yellow in color due to the high levels of beta carotene and is hormone-free. Did you know that there is a significant amount of Vitamin K2 in the butter made from grassed cows? K2 is responsible for decalcifying our arteries. Consuming grassfed butter can lower heart disease, (authority nutrition.com).
photo courtesy of kerrygoldusa.com
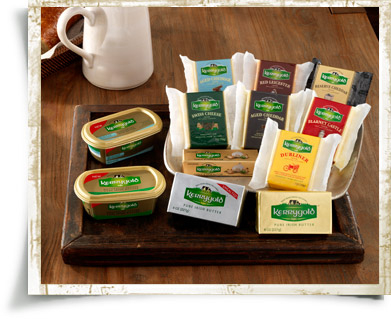
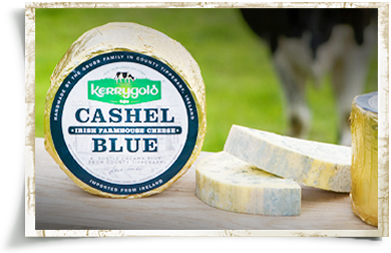
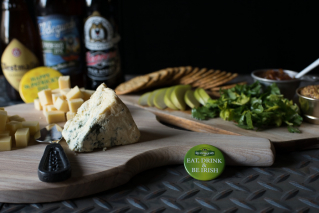
A better question begs to be asked. Why in the world would you consume anything else? Especially when you can buy Kerrygold products almost anywhere these days, even Costco. They have some amazing flavors in their cheese line. From their infamous Dubliner to different types of cheddars, swiss, or the more complex Dubliner with Irish Stout, or Aged-Cheddar with Irish Whiskey and the Irish Cashel Blue Cheese. Click here to learn more about each cheese.
photo courtesy of kerrygoldusa.com
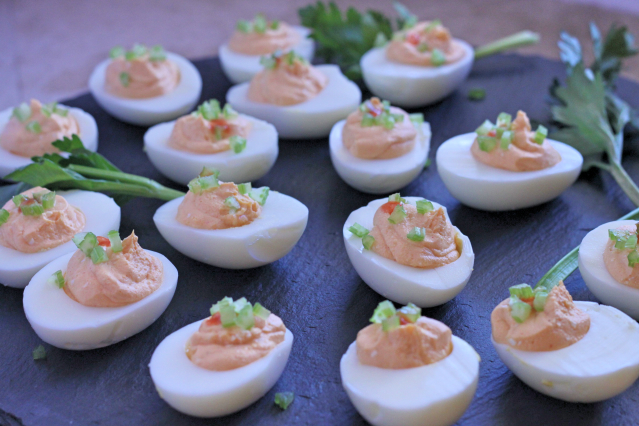
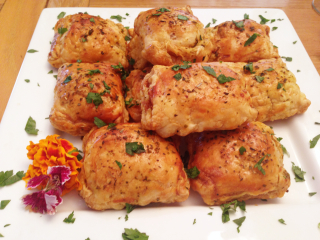
After receiving a rather large assortment of happy cow cheeses and butters I was challenged to make an appetizer for our monthly Inland Empire Food Bloggers Meeting. As a group we are giving away a gift basket of KG cheese and butter valued at $175! Each of us was asked to come up with a recipe show casing the cheeses. Since Easter is on it’s way, and like I discussed earlier I am always looking for a way to use hard boiled eggs, I came up with this version of deviled eggs. I guess they should be called buffalowed eggs though. The eggs are stuffed full of Kerrygold Irish Cashel Blue Cheese. There is zero mayo in this recipe, using protein packed, tangy greek yogurt instead. The addition of buffalo sauce in the eggs leaves a spicy finish on the back end. Diced celery gives the eggs a lovely crunchy texture. My favorite part of these spicy, cheese filled eggs? There are only 84 calories for two of these babies. This is what the other members of our IEFB group made with their cheese and butter:
5 tablespoons finely diced celery, reserve one for garnish
⅛ teaspoon celery salt
cayenne or chili powder for garnish
Instructions
Slice each egg in half lengthwise. Remove the yolks to a medium size bowl, mashing yolks with a fork.
Add in the yogurt, hot sauce, blue cheese, salt, and 4 tablespoons of celery into the mashed yolks. Combine ingredients till smooth, adding more greek yogurt 1 tablespoon at a time until the mixture reaches desired consistency. It should not be too dry, but easy to pipe out of plastic bag.
Scoop the blue cheese mixture into a piping bag or ziploc bag. Pipe about a half tablespoon of the mixture into each egg white half.
Garnish the eggs with remaining celery, and sprinkle cayenne or chili powder on top of each.
Refrigerate till ready to serve. Can be made up to a day before.
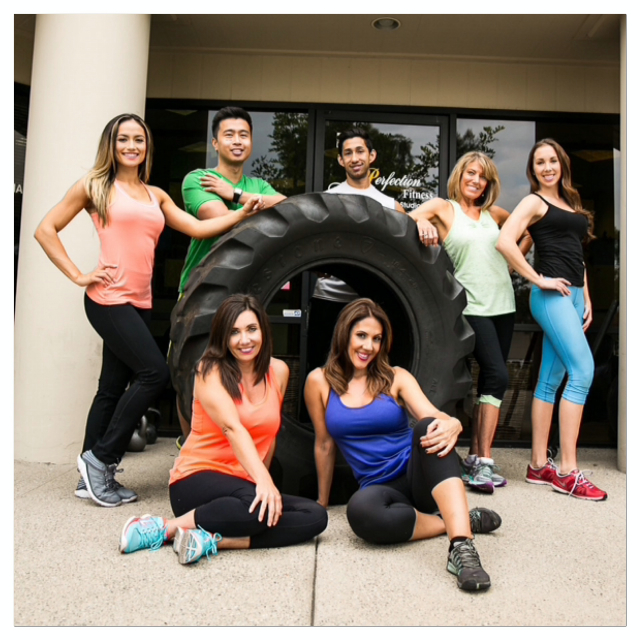
The Perfection Fitness Team: Bottom – Karen, and owner, Melissa. Top – Marissa, Sherwin, Jason, Codean, & Jessica.
I have had a personal trainer twice in my lifetime, both from 24 hour fitness. One I hired after my cervical fusion (neck surgery) to act as continued physical therapy. The other time was 6 months before my wedding. I, like many other brides, wanted to be in the best shape of my life and look incredible in my wedding photos. Both times I thought the training experience was o.k. But, six months with a 24 Hour Fitness trainer was 5 months too long. I used the trainer for motivation, rather than results.
A friend of mine and her husband have been clients at Perfection Fitness for quite some time. My friend initially started training there for their expertise on post baby body revamping and continued through another pregnancy. Her husband went to bulk up and help with a neck injury. After seeing their results, two of their family members have started training there as well. Positive reviews and visible results from each one.
I’ll be honest, I’ve seen the beginning, middle and end of each person and their progress is pretty incredible. Even during my friend’s third pregnancy she was fit and healthy. We went out one night after her baby shower and a man stopped her to tell her how wonderful she looked. I know she is beautiful, but I think the fact that she was incredibly fit and 9 months pregnant made her stand out even more.
I needed to have Perfection Fitness in my gym alternatives series. If you are like me and have only experienced the 24 Hour fitness trainers, you need to give private training a try. It’s a whole new world. I’m not trying to knock the corporate gym trainers, but there is something different about the personal attention and knowledge of the Perfection Team.
In 2004 Melissa Maher opened Perfection Fitness to make a difference in people’s lives. She grew up watching close family members struggle with extreme health conditions, including cancer. She knew that many of these conditions could be prevented by diet and exercise and committed her life to helping herself and others beat the odds.
Ten years later, Perfection is going strong and our community continues to benefit from her passion. Not only does Melissa help clients through her studio, she also teaches workshops, heads a Relay for Life Team, partners with our local Healthy RC News and was a trainer to a contestant on Extreme Makeover: Weight Loss Edition.
Owner & Trainer, Melissa Maher.
Each of the six trainers at the studio brings an educational background in their field, including a Masters in Kinesiology. They are all experts and it shows in their training style and client results. To read about what each trainer brings to the table, click here.
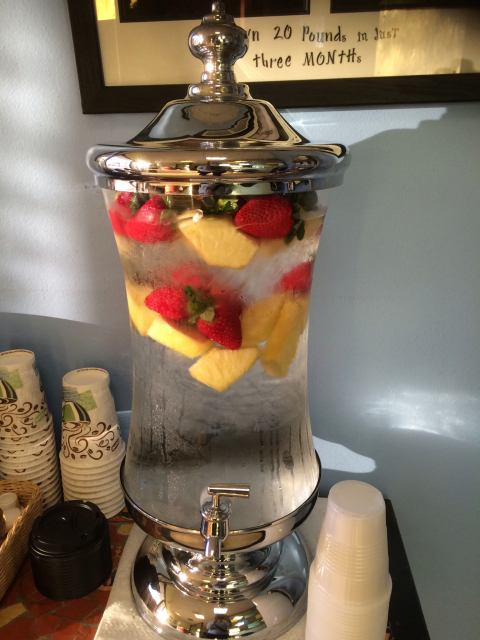
From the moment you walk into Perfection you know customer service is their number one priority. From the fresh flowers to the fruit infused water, to the smiling helpful faces everywhere and complimentary towels.
When I trained with Jason at Perfection I was the only client there, which is a typical experience. He gave me a tour of the space and then sat down with me to address my needs and goals. With a regular client he would take measurements and do an initial weigh in. This information is used to create meal plans and decide which exercises will help clients reach their goal.
Not only do I work out regularly, but I push myself pretty hard. I worked out with Jason for an hour, and could not walk for 5 days afterwards. I had what is called a workout hangover. I loved it. Since I work out regularly my body has been in a plateau for quite some time, not changing. In that one session with Jason he broke the plateau and my body reacted by changing. My sore muscles proved it.
Thank God Melissa, invited me back two days later for an hour of the Ultimate Stretch, PNF stretching. What is PNF stretching? Ashley Black, a fasciologist, describes it this way, “PNF causes the brain to go ‘I don’t want that muscle to tear’ and sends a message to let the muscle relax a little more than it would normally”. Stretching is essential to not injuring your body when you work out, but PNF takes it one step further. You feel a release that regular stretching doesn’t do.
Enjoying my ultimate stretch with Melissa.
At Perfection they offer PNF stretching to their regular clients, but you can also go in and have an hour-long PNF session just like receiving a massage. Even if you don’t feel you need a personal trainer, you should go to Perfection for their PNF stretching. After the workout hangover Jason created, I needed that stretch badly. After the stretch my body would have yelled “hallelujah!” if it could.
My experience at Perfection Fitness was what I had hoped for in the two training experiences I had previously. There is an innate difference in the two. I believe their experience and education has everything to do with it. If you are looking for motivation, or to make a change, big or small in your physique, I would highly recommend visiting Perfection Fitness.
What it is: A private personal training studio staffed with six fit and knowledgeable trainers.
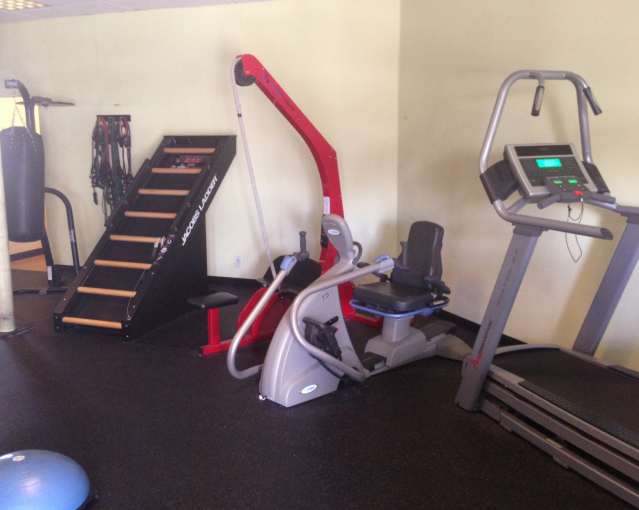
What to bring: Yourself. This is an all-encompassing experience. They have water, towels, butt kicking trainers and all the equipment you will need.
Where: 9125 Archibald Avenue, Suite D Rancho Cucamonga, CA 91730 Phone: (909) 477-3000
When: All private training sessions are by appointment only. Some group classes are drop in, others you must RSVP for. Please click here to find out more information.
What I love: That every trainer is an expert in their field. Your goal is their mission. They will get you there through training, nutrition, stretching and will help you eliminate mental road blocks. Even if private training isn’t in your budget, their group training is another option. Their groups are not the large standard gym class sizes either. You still receive personal attention with this option.
Bonus: Mention this blog post and you will receive two complimentary training sessions! Click here or call Melissa at (909) 477-3000 to schedule.
Disclosure: I was not compensated for any portion of this post. I was given one free training session and one free stretch session to gain information for this review. All opinions expressed are my own.
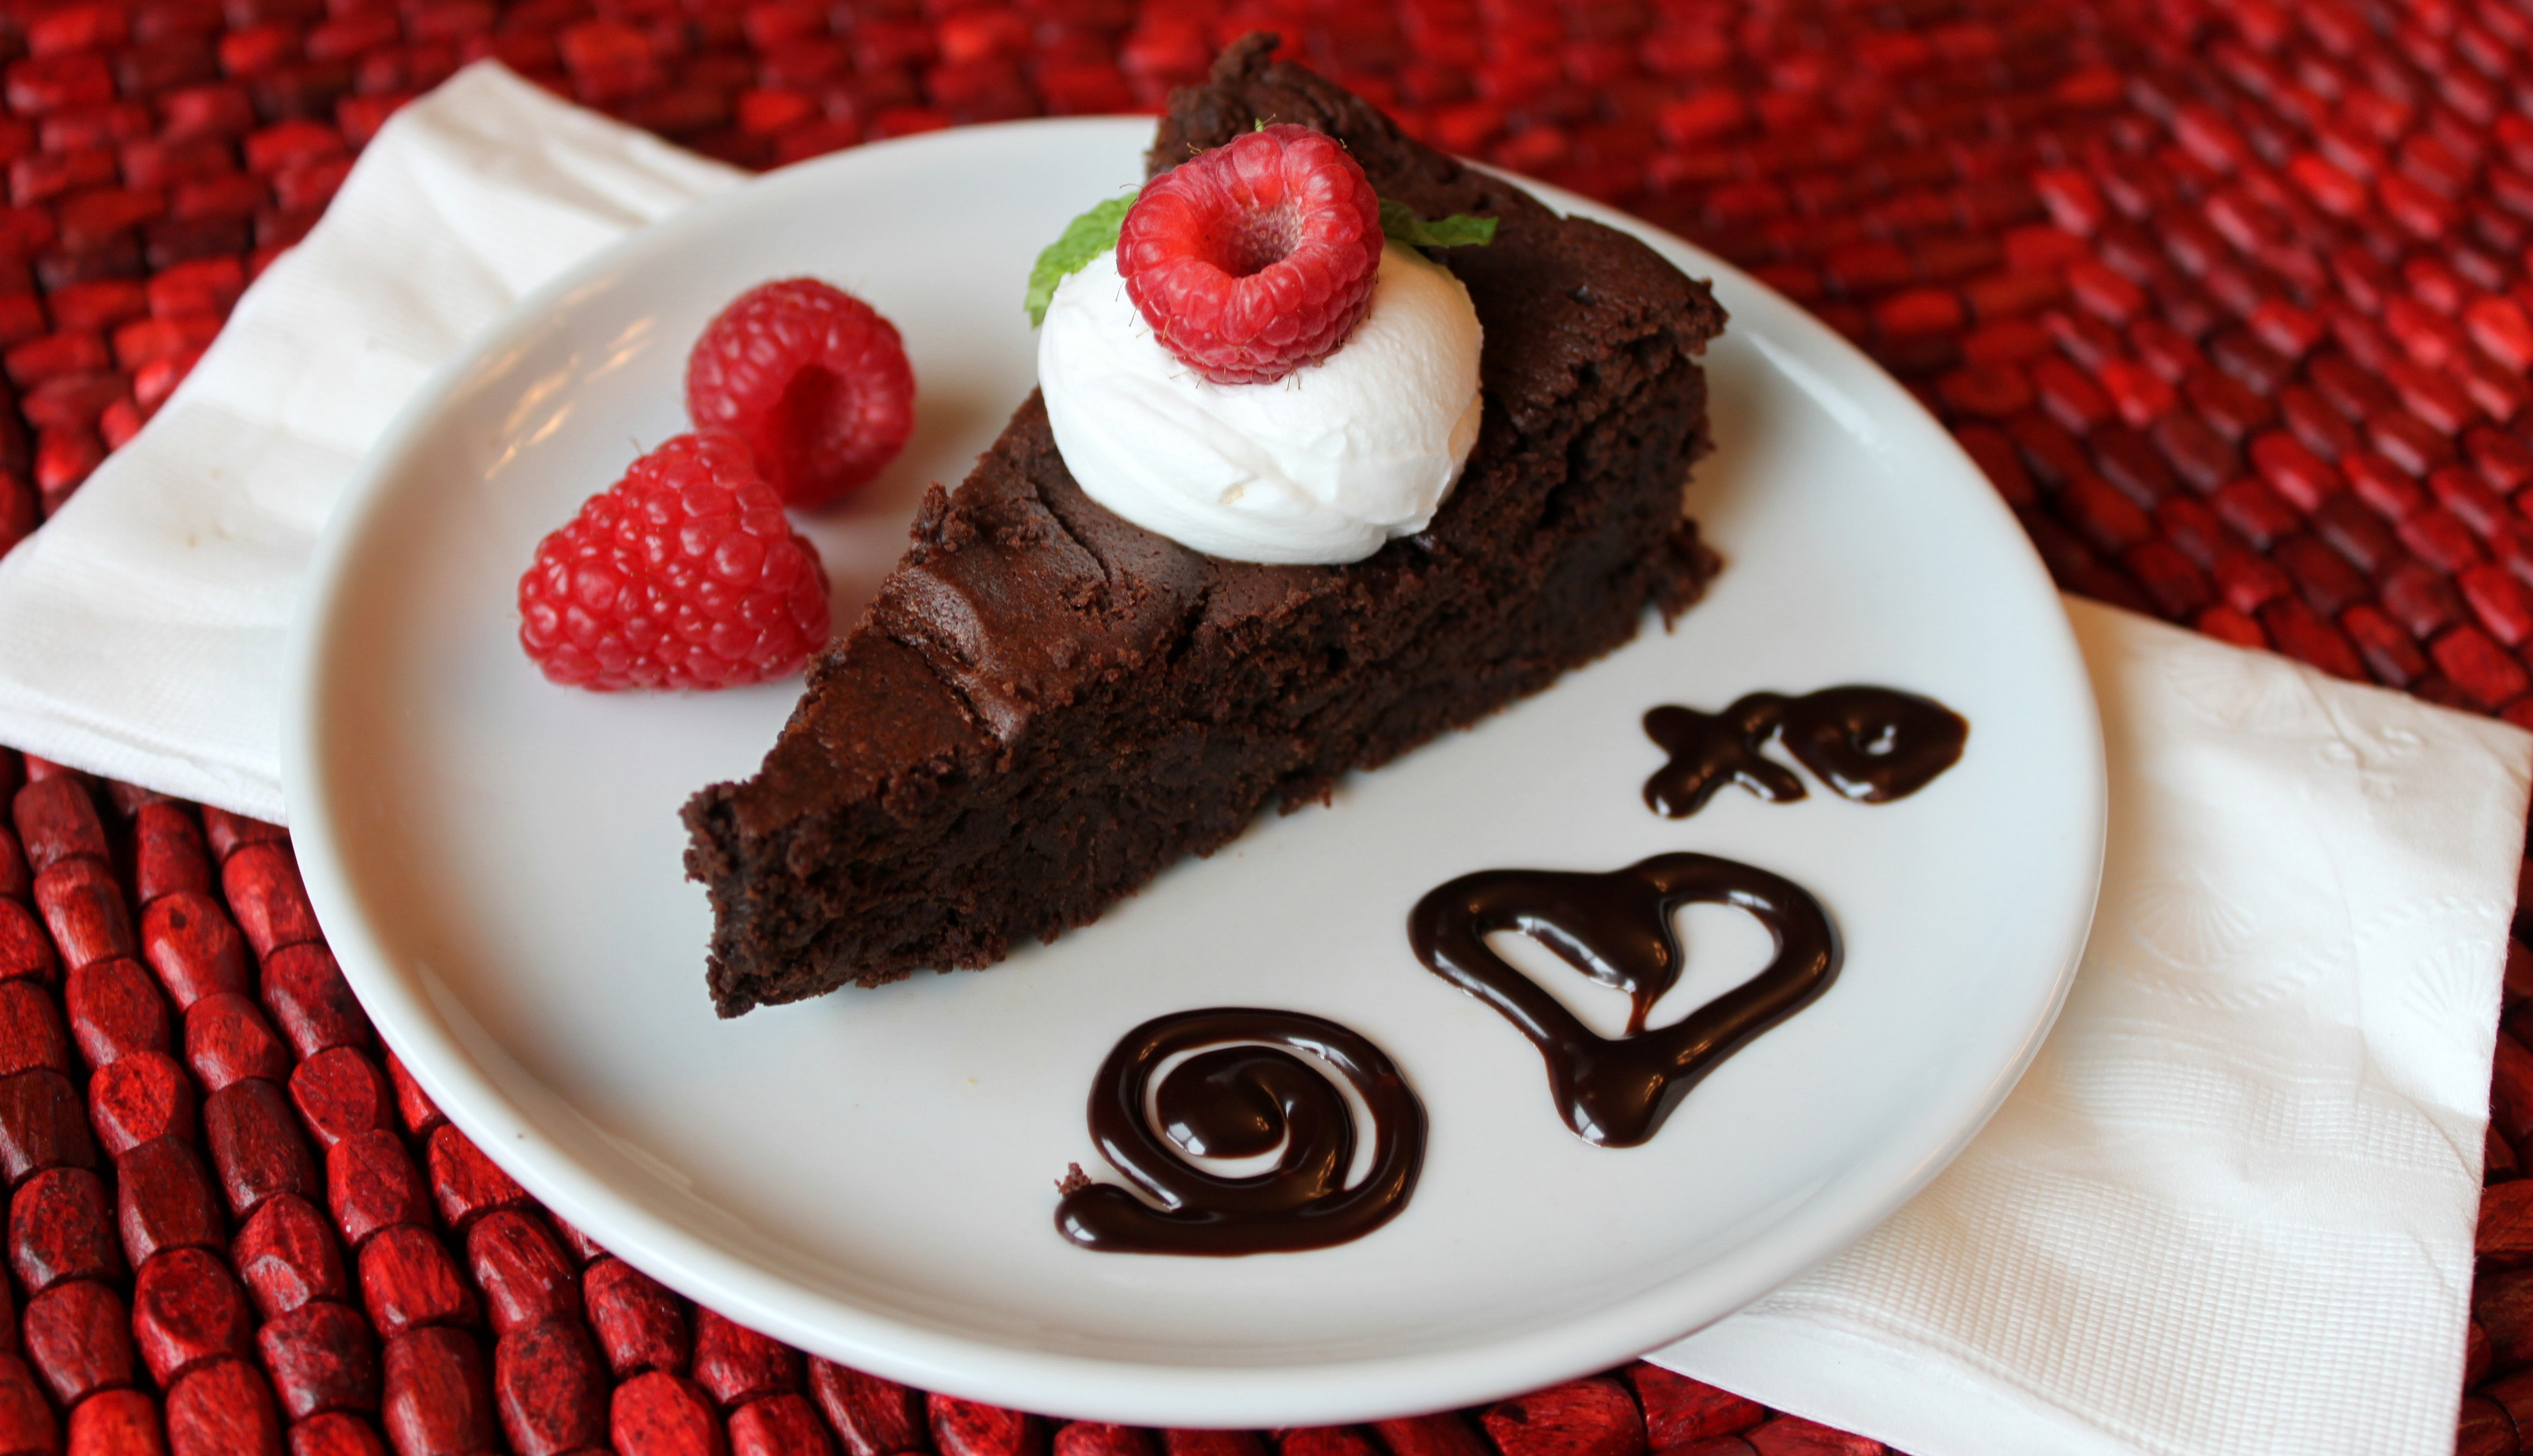
Everyone has a signature dish on stand by that they make for the people they love. A dish that comes from their heart and warms their loved one’s soul. It’s usually a dish that gave the chef a happy or joyous feeling that they wanted to share. A silver lining on a bad day.
My silver lining dish of choice is a hearty beef ragu. The first time I had it I was out for a girls night at a local Italian restaurant. From my first bite I was in love. That dinner was such a wonderful memory that I have forever tied the luscious flavor with that happy time. Thus, my love dish was born.
The problem with my love/silver lining dish is that it’s not the healthiest in its original form. There is a lot of fat laced into and on the outside of boneless beef ribs. When you braise them the fat melds into every fiber of the meat and sauce. Yes, it’s to die for, but to make it healthier I pull the outside fat completely off the ribs, leaving only the internal fat. This cuts down the fat factor immensely.
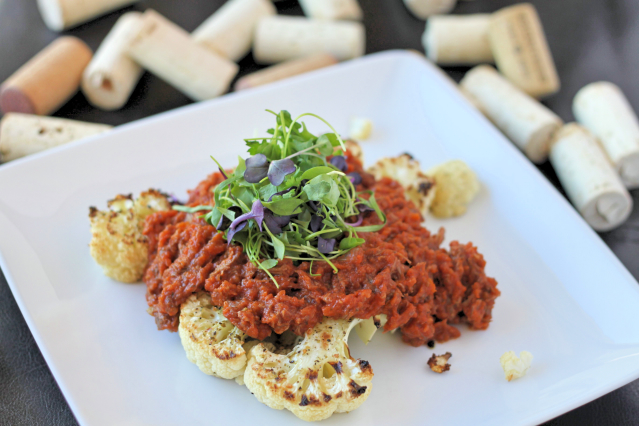
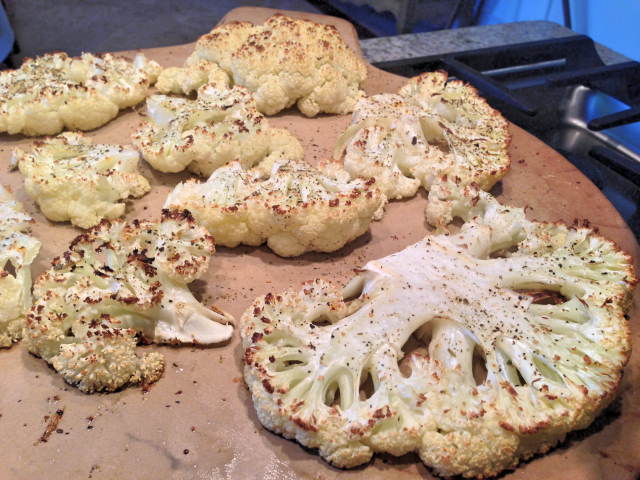
Adding to the unhealthy factor, the original dish was served on a bed of orrechiette (ear shaped pasta). Although the dish was perfection in this combination, the carbs and gluten aren’t always welcome at my dinner table. Since cauliflower is one of my favorite cruciferous veggies, I chose to pair the chunky sauce with it. I roasted olive oil spritzed cauliflower steaks on a pizza stone covered in a garlic herb seasoning. I didn’t even miss the pasta. The cauliflower had more flavor and the crunchy texture was a nice contrast to the luscious sauce.
The total meal comes in at only 283 calories. I have no idea what the original meal nutrition stats are, but I can guarantee they would not be pretty.
Whatever your go to love dish is I hope your Valentines day is filled with love. Not just on the 14th, but everyday.
Slow Cooked Short Rib Ragu is ladled over roasted cauliflower.
Ingredients
For Caulifower Steaks
1 head of cauliflower, washed and patted dry, outer leaves removed
Melissa's Produce "My Grinder" Organic Garlic & Herb Sea Salt
Olive Oil
For Short Rib Ragu
1½ lbs of boneless beef ribs, visible fat removed
1 carrot, peeled and diced
2 celery ribs, diced
1 brown onion, diced
3 garlic cloves, minced
2 tablespoons olive oil
1 teaspoon sea salt
½ teaspoon crushed red pepper
1 tablespoon dried basil
½ cup red wine (I used a cabernet)
1 28 ounce can organic diced tomatoes
1 15 ounce can organic diced tomatoes
4 tablespoons organic tomato paste
2 bay leaves
sea salt and pepper to taste
Instructions
For Short Ribs
Pre-heat oven to 325 degrees
Pat the ribs to remove any moisture. Sprinkle with sea salt and pepper on all sides.
Heat a large dutch oven over high heat, then add olive oil when hot.
In 2 batches sear all sides of the ribs. Sear each side for about 2 minutes or until brown. If the meat sticks to the pan when you try to flip it, leave it on for another minute. Remove ribs to a nearby plate after all sides are seared.
Add the onion, carrot, and celery, salt, red pepper and basil to the same pan the ribs were in. Saute for 5 minutes or until soft, stirring occasionally.
Pour in the red wine and scrape all the brown bits off the bottom of the pan (a.k.a. degalze the pan). Reduce the wine by half, about 2 - 4 minutes.
Add the tomatoes and bay leaves, combine well.
Return the meat and the juices to the dutch oven submerging them in the tomato wine sauce.
Put the lid on the dutch oven and cook in the oven for 2½ hours.
Remove the meat from the sauce to a cutting board. Set aside.
Using a hand blender or use a regular blender, pulse the sauce so that the veggies are coarsely pureed. There should be some texture left in the sauce.
Return the meat back to the sauce and stir to combine.
For the Caluiflower
Preheat oven to 425 degrees
Cut the head in 2 inch thick slices. The ends will not come off looking like steaks but you should get at least 2 steaks from one head.
Spray each side of the cauliflower steaks and pieces with olive oil, and then spring both sides with Garlic and Herb Sea Salt.
Boot camps are extremely popular these days. Every time I open my email there is another Groupon, or Living Social deal for the next best boot camp. I personally have jumped on that bandwagon a couple times, trying them out, hoping for that boost of fitness motivation, and friendly competition.
Boot camps are a great place to gain motivation, but you have to be careful in choosing one. A few years back I went to one that I purchased on Groupon. It started at 5:30 a.m., you could go three days a week if you wanted. When I first got there I was in shock of the amount of people that got up that early to work out.
Although it’s wonderful that many people were enthusiastic about this boot camp, the sheer number of people became a huge disadvantage. Due to the high number of attendees there were not enough trainers to make sure each boot camper’s form was correct. Being new to the exercises we did, I hurt myself using incorrect form on my third day there. Not only would they not refund my money, but they made me feel like it was my fault.
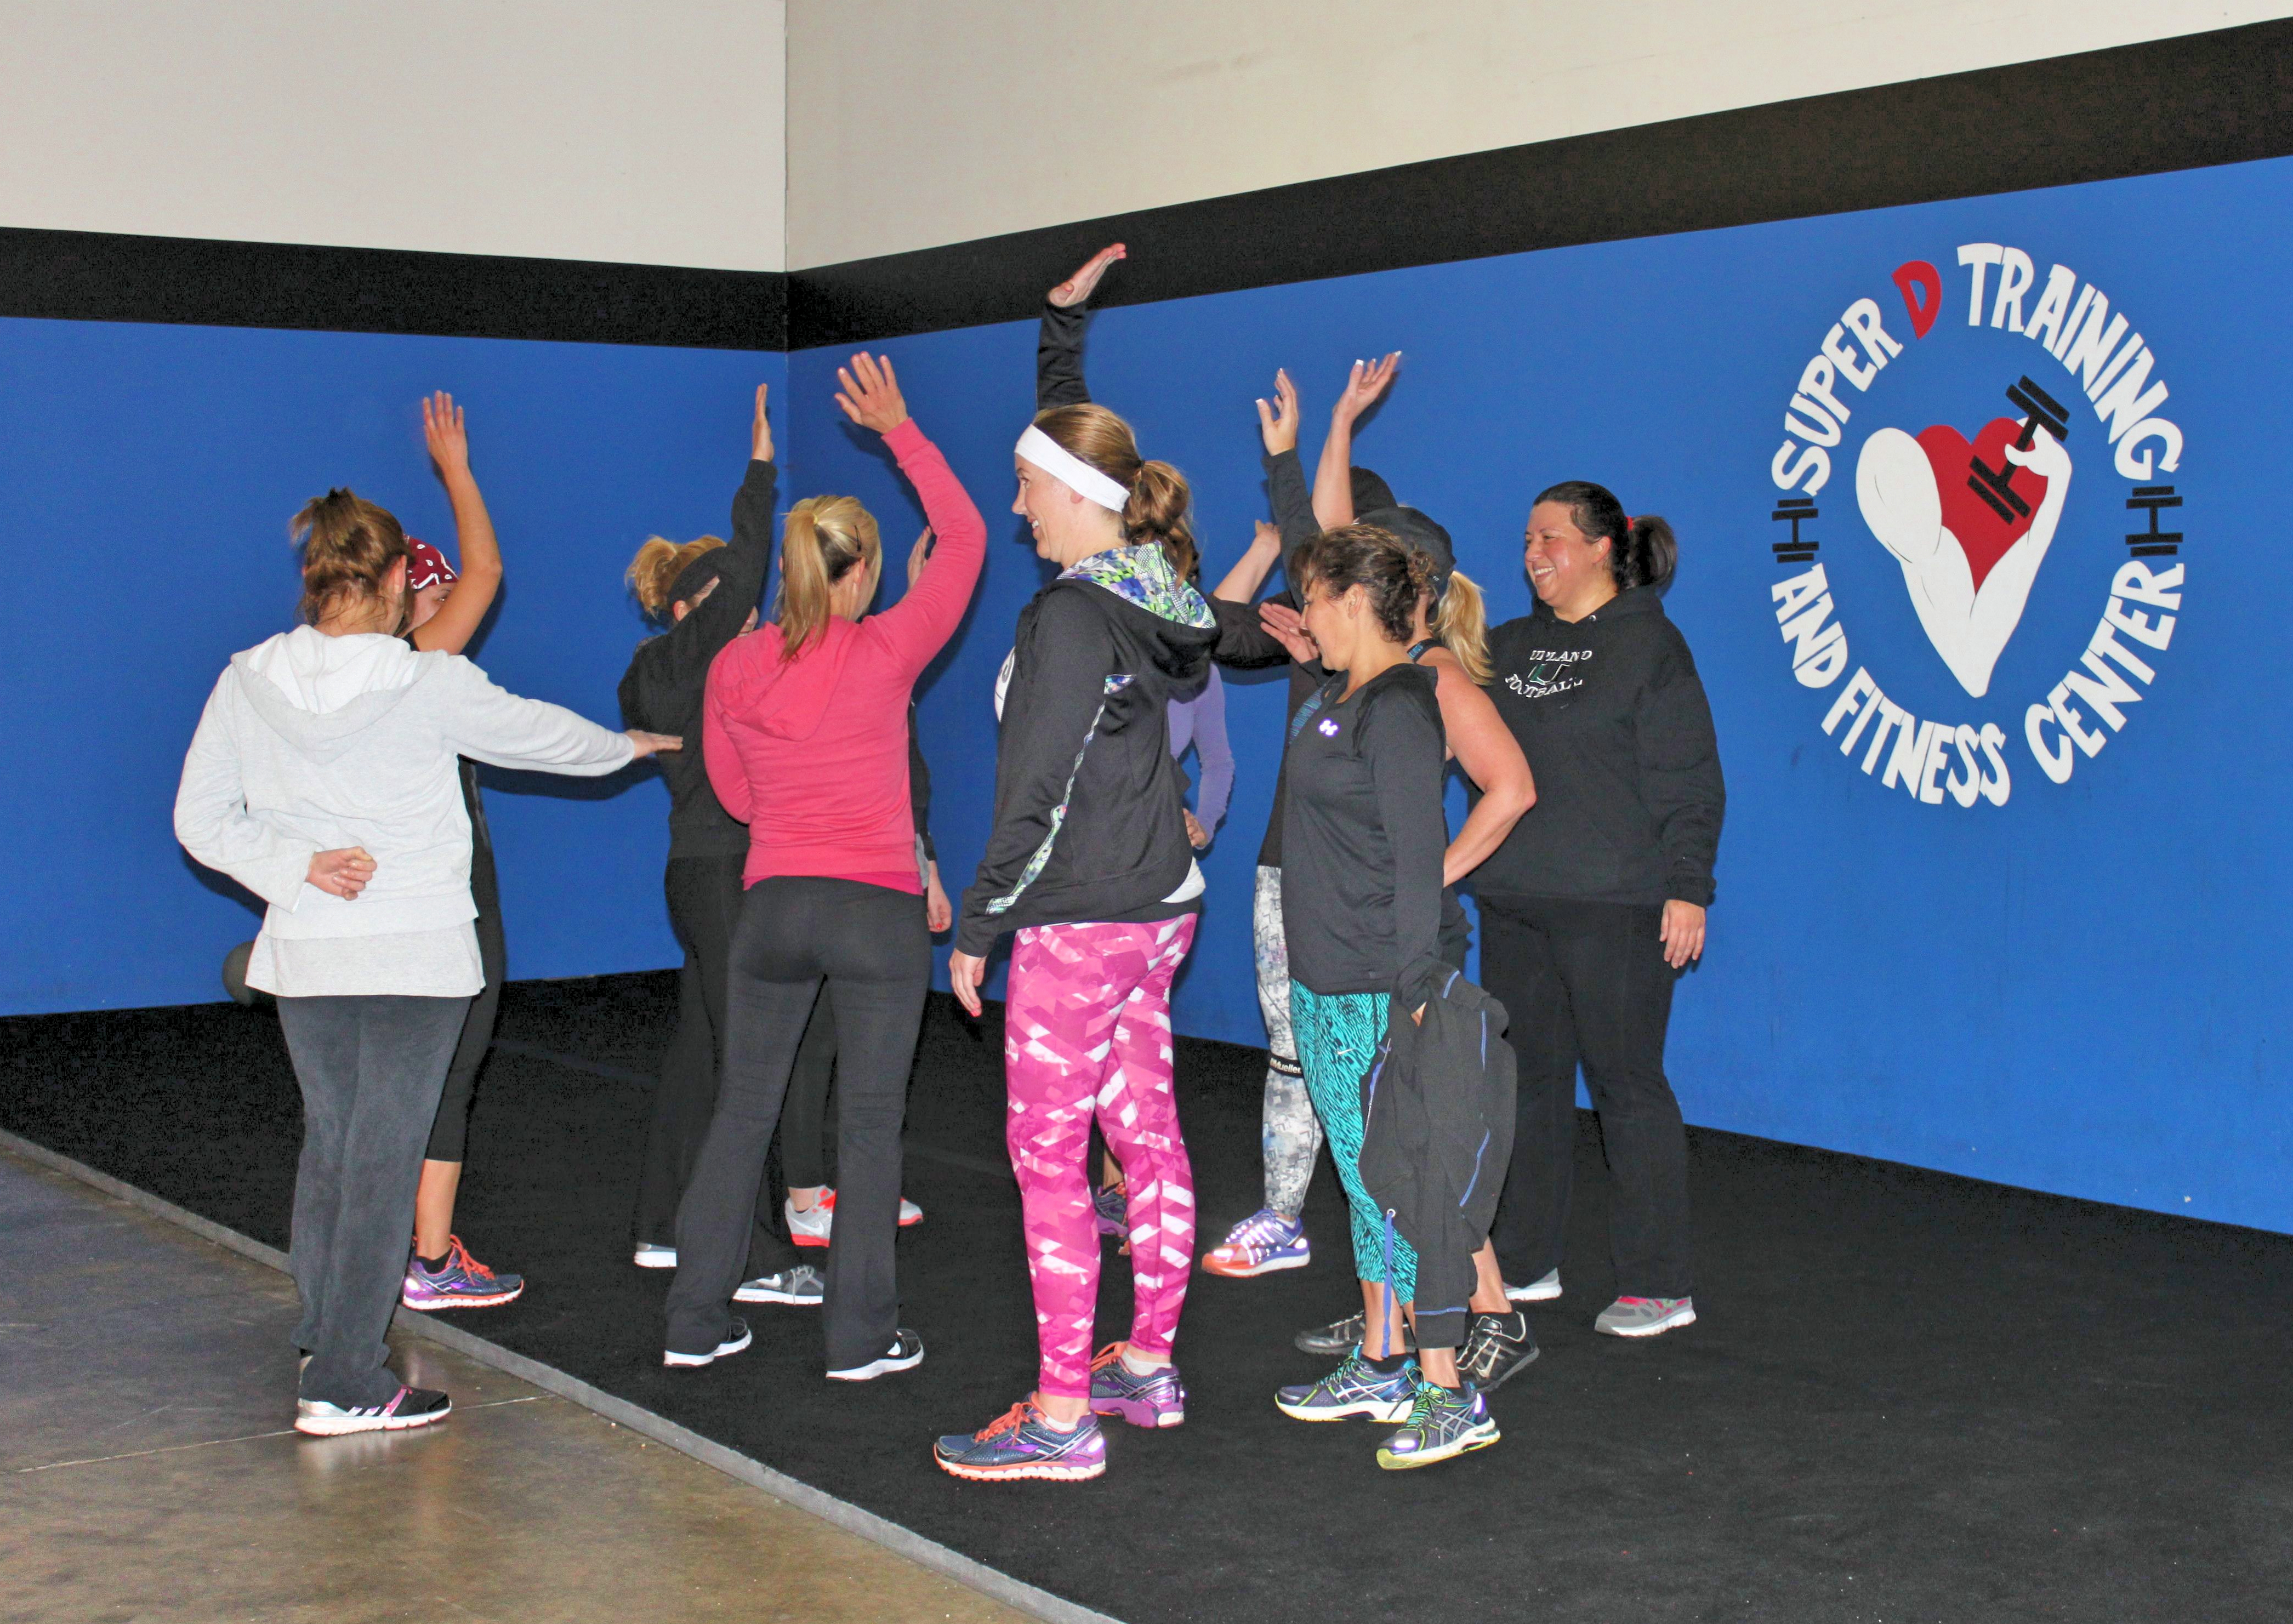
Since then I have attended a few more boot camps. Each has been a much better experience than the first. My favorite by far is Super D Training & Fitness Center in Rancho Cucamonga. Not only does it have it’s own facility (no park or mall used here), it comes with the fabulous owner and trainer Danielle. She is such a badass she was recently picked to be on the show Steve Austin’s Broken Skulls Ranch.
The picture above shows the incredible fit team at Super D’s. (left) Jan is an ACE and Crossfit certified trainer. He specializes in obstacle course training. (middle) Super D, Danielle, is also an ACE certified trainer, along with being obstacle course trainer certified. (right) Dan, has an extensive background in fitness, ranging from team sports to Crossfit/obstacle races, running, and holds a black belt in Kajukimbo.
Upon arriving on my first day at 4:50 a.m. I was greeted by a smiling, cheerful Danielle. The large warehouse type facility echoed the sounds of upbeat music. It was stripped of the branded frills of an overcrowded gym. Instead it screamed passion. The vibe from the other boot campers reached every corner of the facility. It motivated me to give my best, whatever it was at 5 a.m.
Each class starts with a warm up directly outside the facility in the parking lot. Once our muscles were warm each boot camper took off into a 5 minute run around the adjacent buildings. Don’t worry if you aren’t a runner. Yes, some of the members took off like they were racing, but you go at your own pace, and no one judges.
Upon returning from the run, each workout station is explained by the trainer, proper form shown. It depends on the day, but there are anywhere from 6 to 8 stations for each class. Campers distribute themselves into each station, 3 to a station. Each work out lasts a fat burning, muscle building 1 minute. Everyone does each station twice with bonus muscle targeting exercises in between sets.
All stations are designed to give you the an effective fast blasting burn in a short time span. We did things from lifting tires to swinging kettle bells, and crawling backwards like a crab. Each 45 minute class ends with a great stretch and a team building affirmation with your fellow boot campers.
Just like my experience at Pure Barre, there were campers that were all on different levels. There was a newcomer that day, so I was able to see the camaraderie surround her from a genuine perspective.
I felt in my element at Super D.’s. There is no one checking you out or sizing you up. Everyone is there for the same reason, to get stronger and reach whatever goal they have set out for themselves, while cheering you on. Danielle has set the tone for her gym. It’s not about being cute, it’s about becoming a stronger version of you.
What it is: A gym that provides boot camp classes, personal training, and specialized training for obstacle course races.
What to bring: Just your willingness to compete with yourself and a bottle of water. During the winter months, you may want a head band to cover your ears and a light jacket.
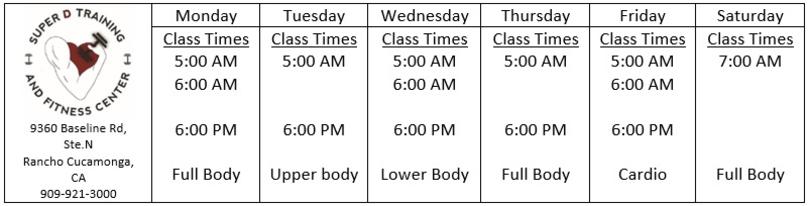
Cost: Get ready for this…it’s only $84 a month, for unlimited access. It’s the cheapest price in the area, and one of the BEST! Great bang for your buck here! To sign up click here.
What’s new: Super D now has targeted obstacle course training for hard core fitness individuals that want to compete in the Spartan Race or Tough Mudder type races. Whether you are a beginner or seasoned health nut, there is a place for you at Super D’s.
Why I really love it: Super D’s had me at hello with their camaraderie. It is a comfortable, results driven way to workout in a short period of time. I loved the affordability factor and the variety of class times. I love, love, love that there is a kids version too.
Disclosures: I was not compensated in any way to write a review about Super D Training & Fitness Center. I was invited to attend 5 classes in order to get the feel of the boot camp experience for the facility. All opinions expressed are my own.
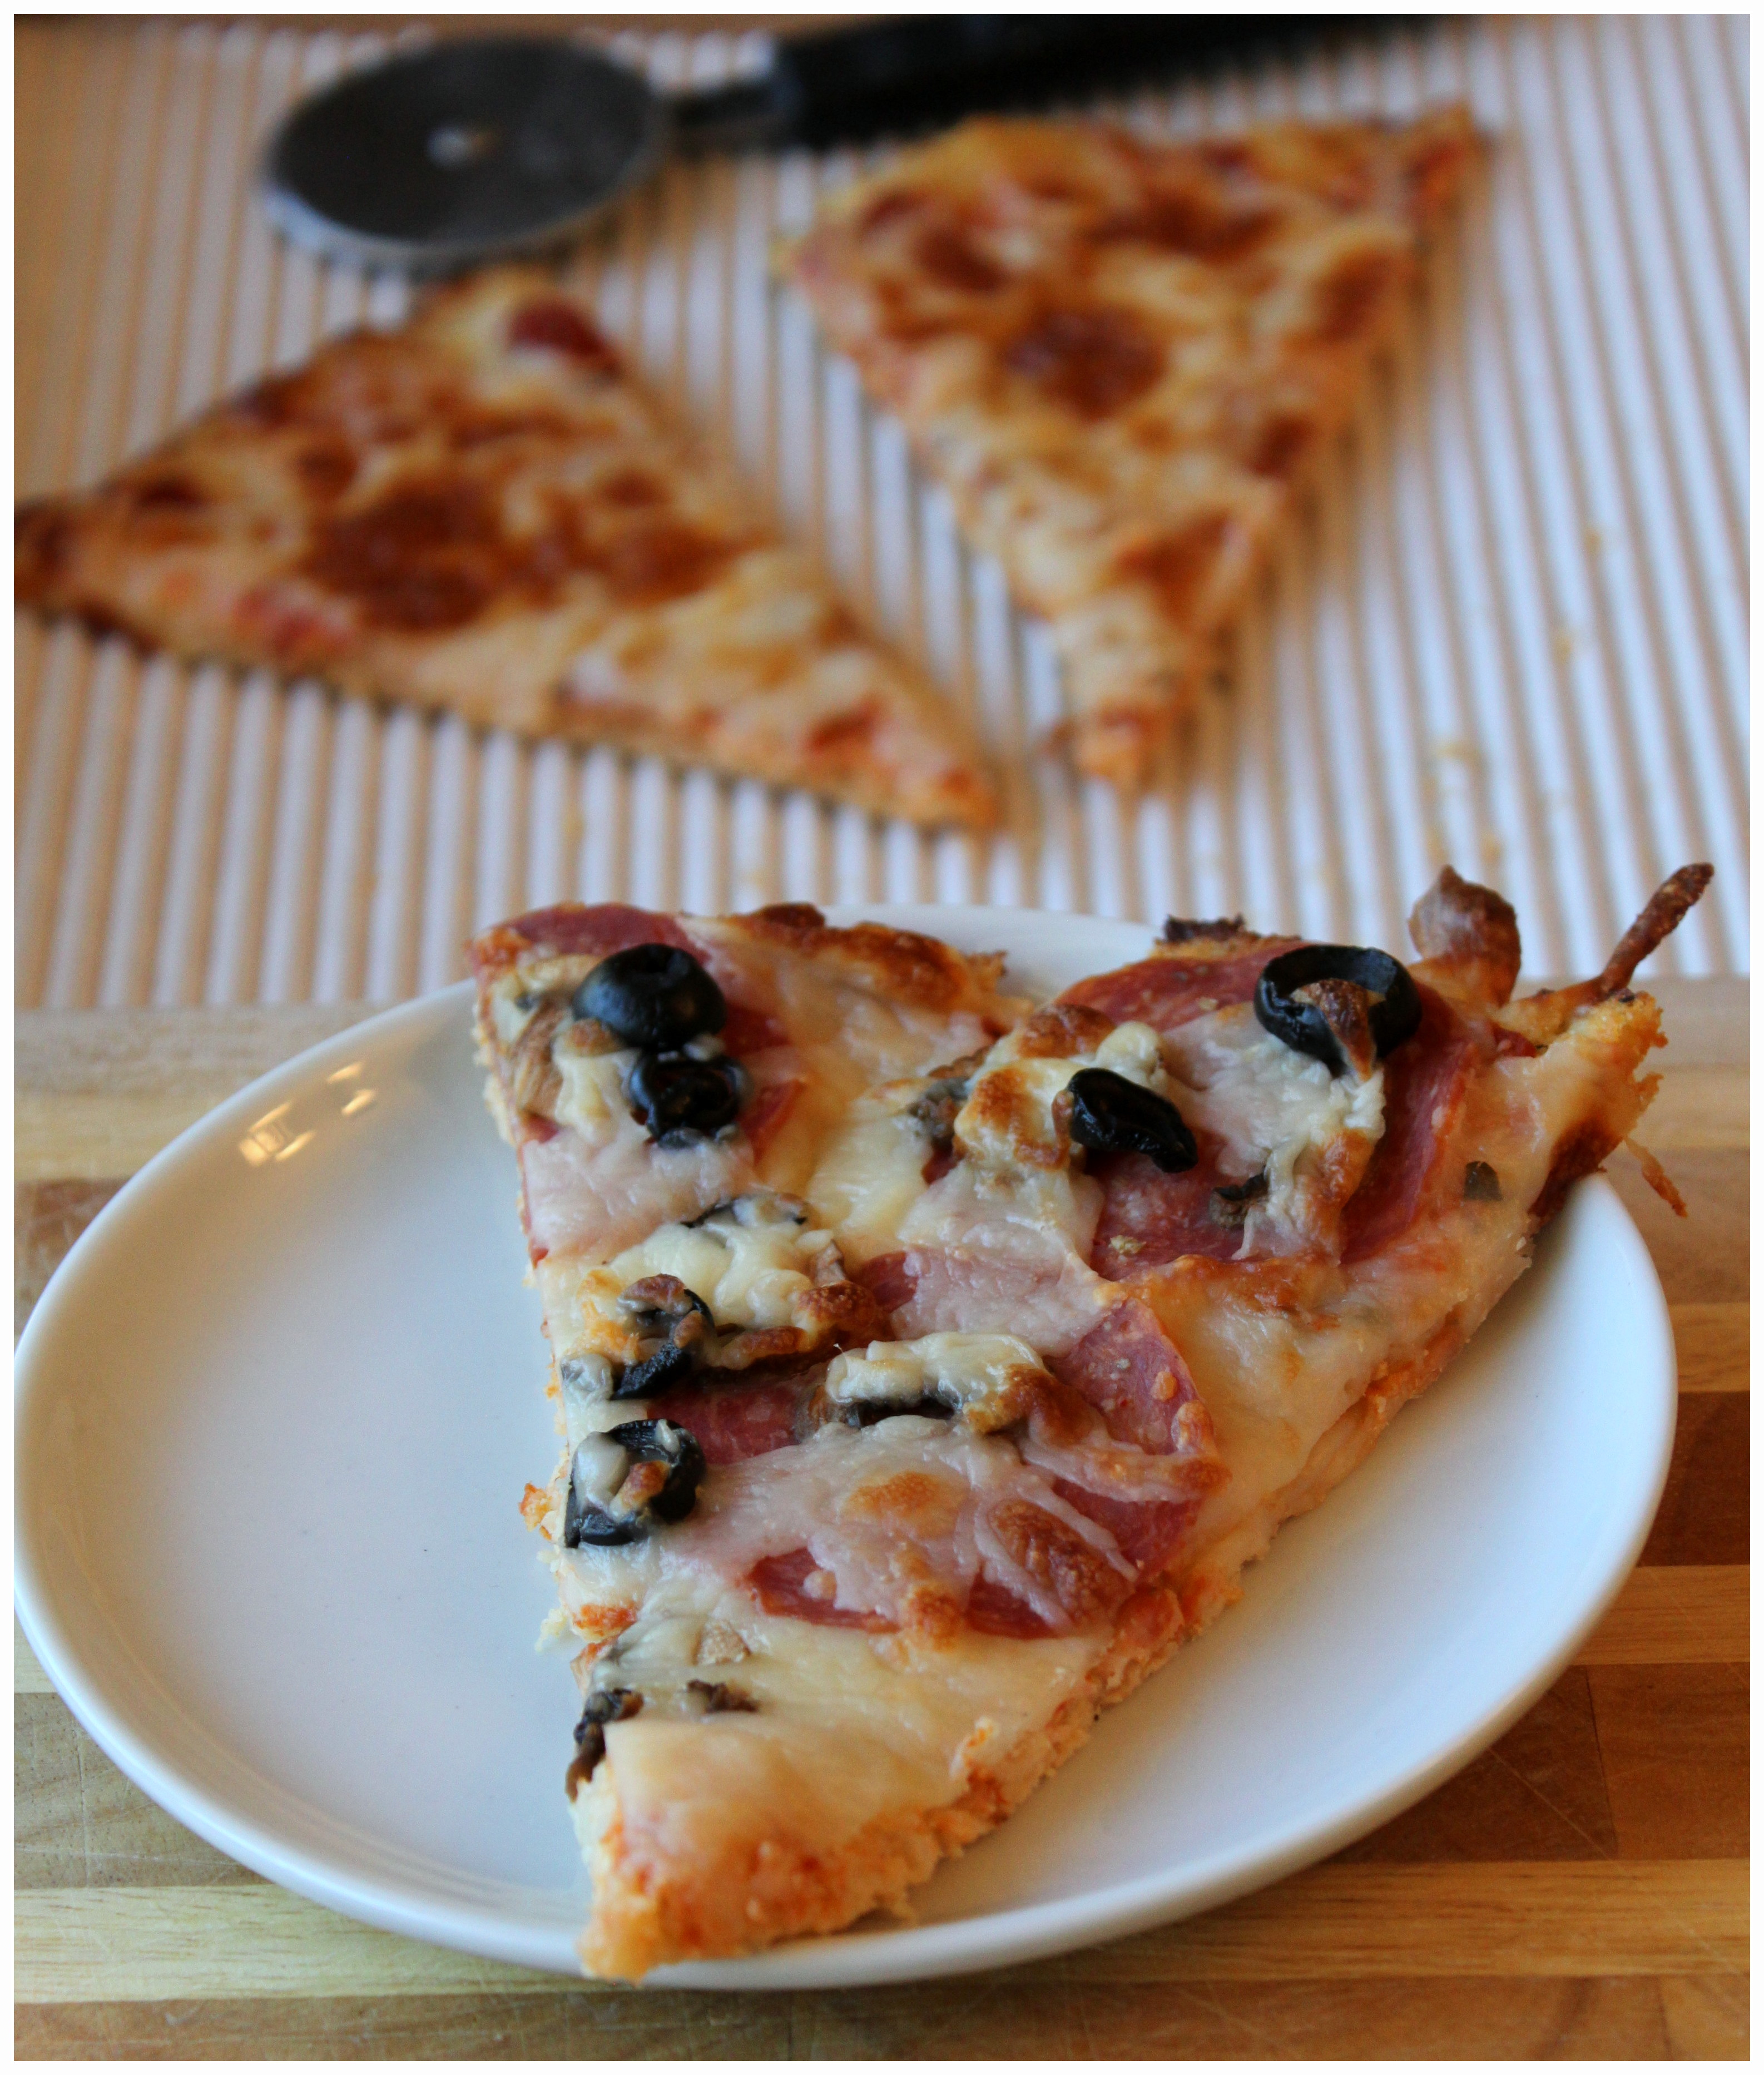
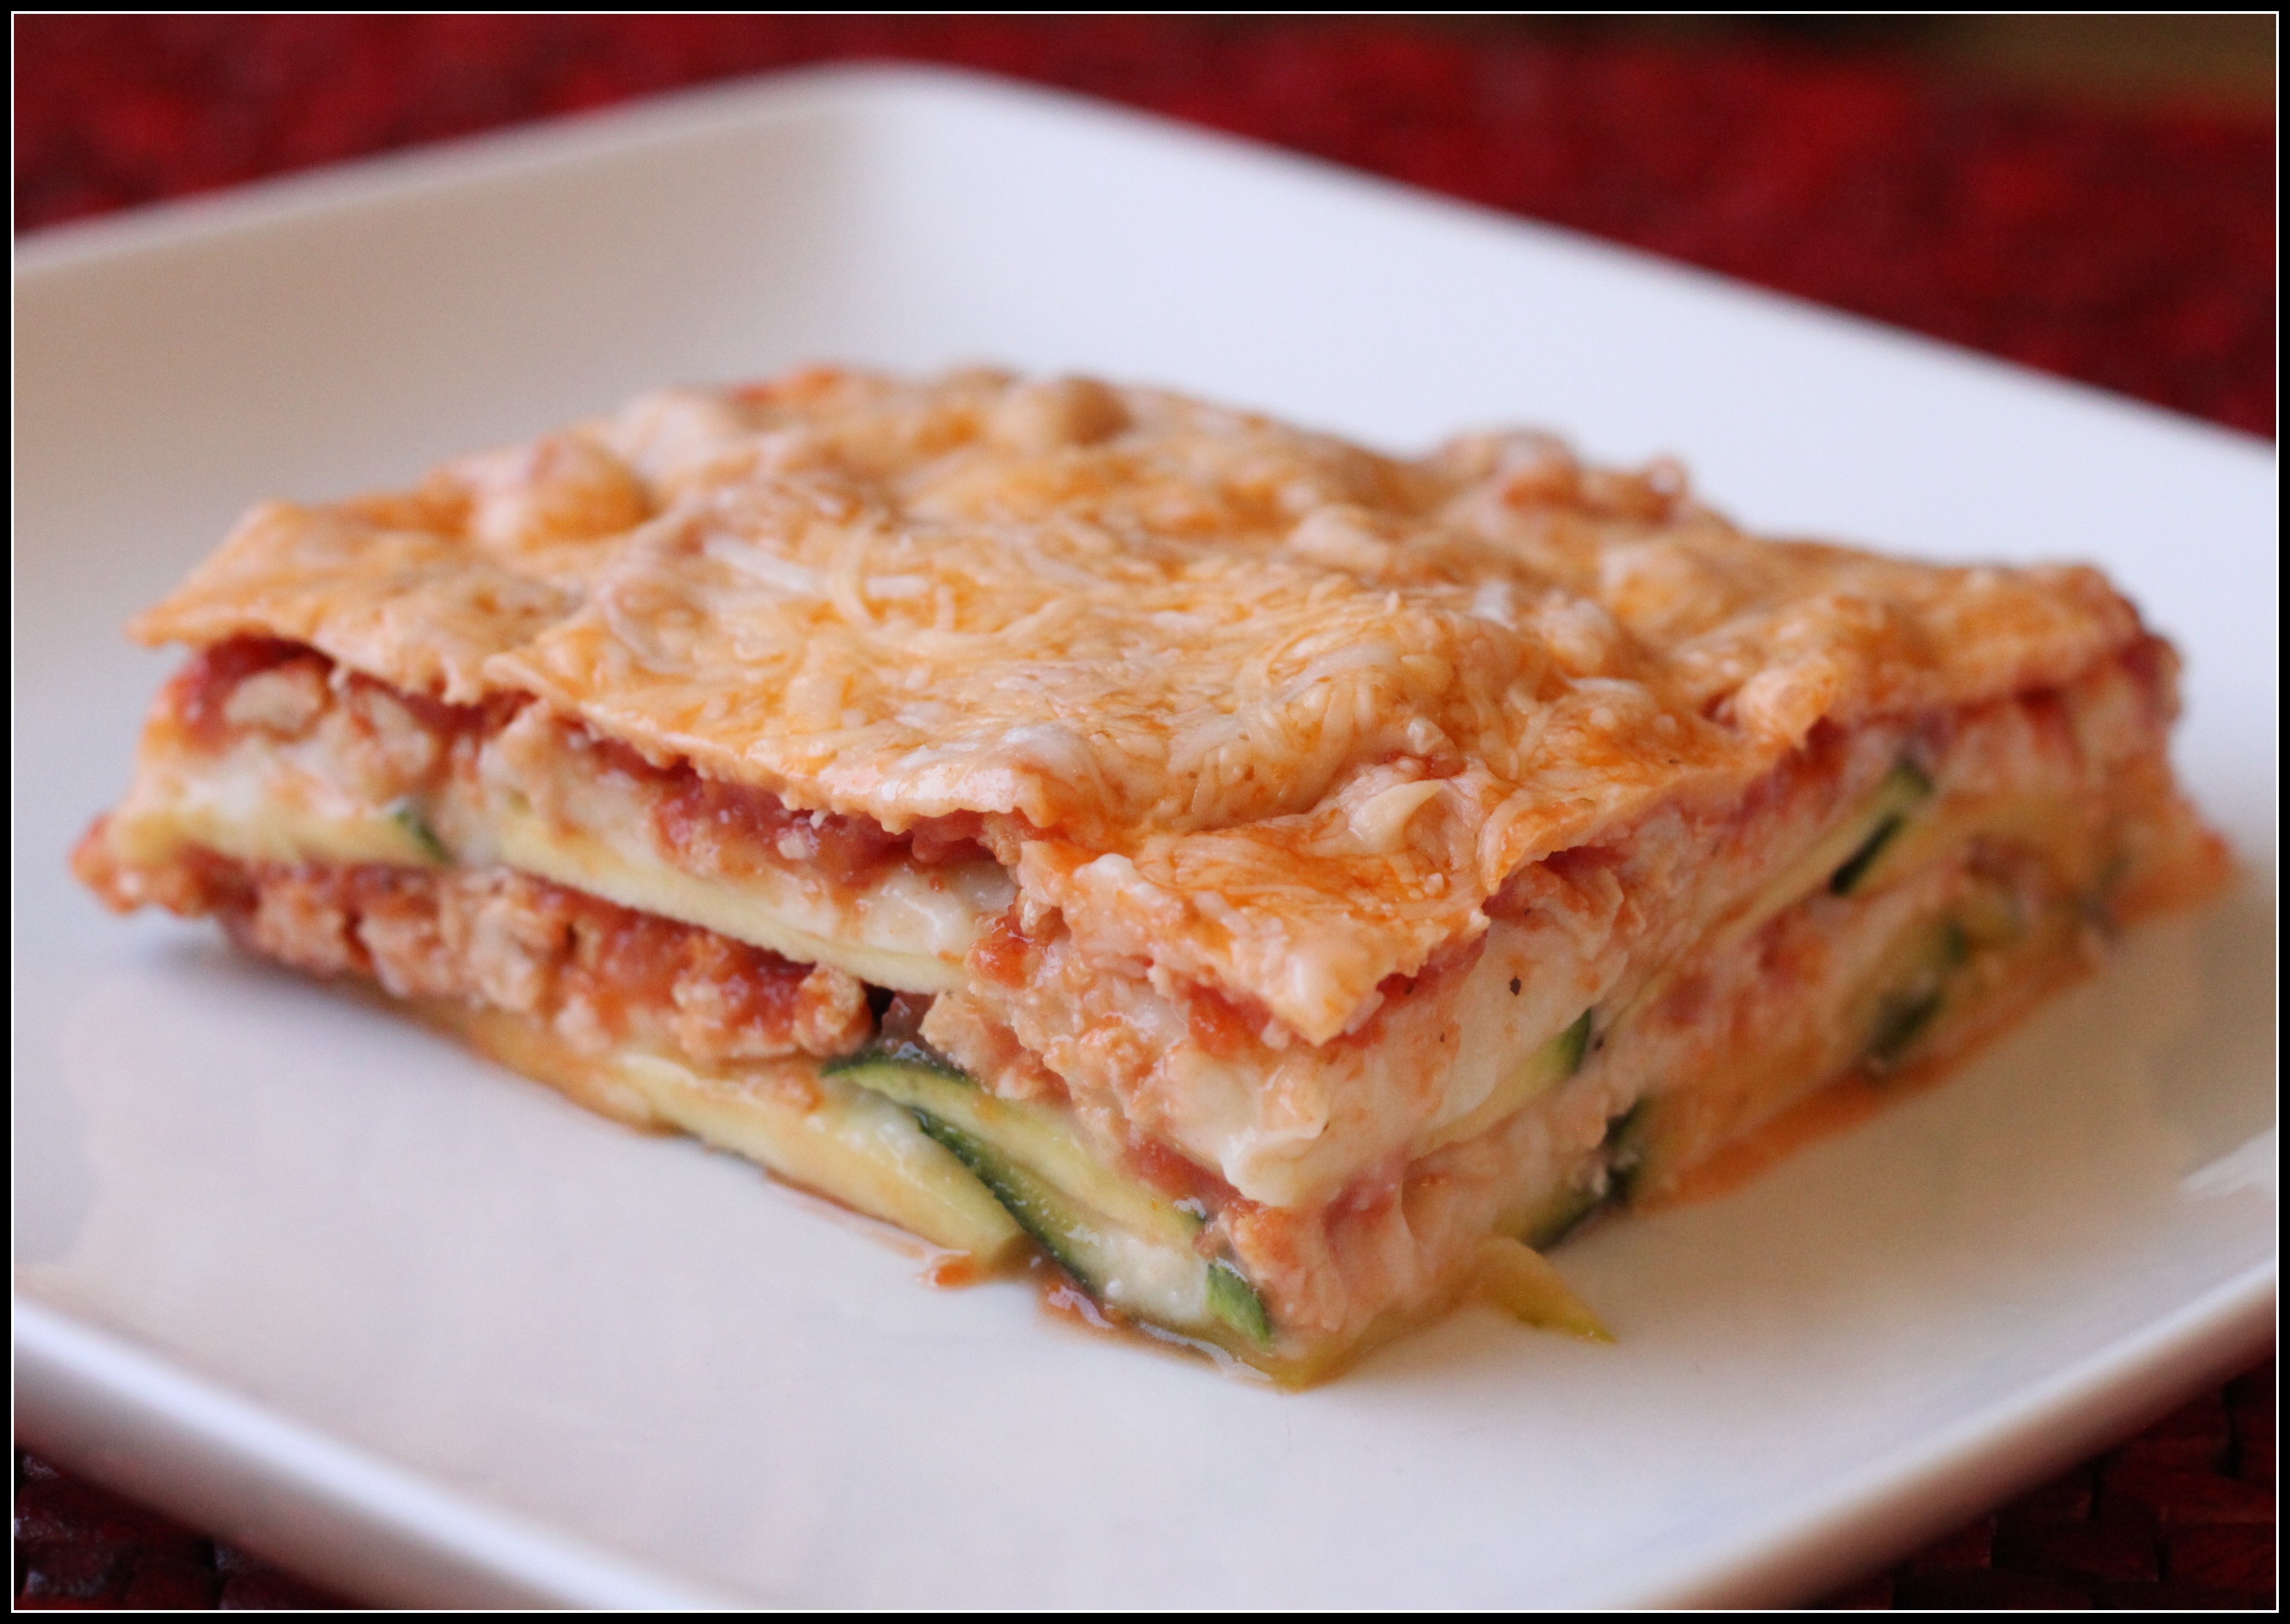
There are times when cooking dinner is seriously the last thing I want to do at the end of a busy day. I would rather order a pizza and call it a day. Ultimately I always regret that decision for many reasons. First, because of the greasy s@#t storm it creates in my stomach. Second, because my body just does not do well with that amount of dairy consumed at one time. It’s a recipe for disaster. Pun intended. Last night I was scrambling for a dinner idea. I always keep whole wheat pasta and a jar of organic marinara sauce on hand for emergencies like this. Only problem is that whole wheat pasta, although great for the boys is not what I want at the end of the day. I prefer not to eat carbs at a time of day that I can’t burn them. After a quick scan I found a lonely spaghetti squash that was pleading for me to use it. Normally I would just prepare the spaghetti squash for me, the whole wheat noodles for the kids and use the same sauce for both. Only problem was that my back up jar had been partially used on tortilla pizzas a couple nights ago. There was only enough for my two crazies. So of course I gave them the sauce, the hangrys (hungry+angry=hangry) had already set in. What to do for me? Fortunately for myself and now beneficial to all of you, I am an advanced pantry recipe developer. Did you just raise your eye brows and wonder what the heck I was talking about? Basically, I can make something from nothing like nobody’s business. I attribute it to living on tight budgets for most of my life. It’s a great skill to possess.
Don’t worry though, as fancy as this recipe sounds, it sooooo simple to make. Keeping it inline with my new simpler philosophy. Either bake or microwave the divided squash, then pull the ‘noodles’ out. Heat the Luna Olivo Basil Olive Oil till shimmering and add a clove of garlic. Infuse the oil (just let the garlic sit in the hot oil) for a few minutes. Remove the garlic, add the tomatoes, squash, and red pepper. Add mozzarella on top. Done.
You can add chicken or italian sausage for more protein, at that moment I was fine with the mozzarella. It was quick, tasty, and healthy. When I made it I served it in the empty spaghetti squash shell, saving me any extra dishes. Serious bonus, considering I hate dishes. Simple. Healthy. Easy Clean up. Delicious. All good reasons to have this on standby for your next busy week night.
Disclosure: I was not compensated for any portion of this post. Luno Olivo sent me their delicious Basil infused Olive Oil. I would absolutely suggest purchasing any of their products. Superb quality, amazing flavor! Click here to purchase their products.
5.0 from 1 reviews
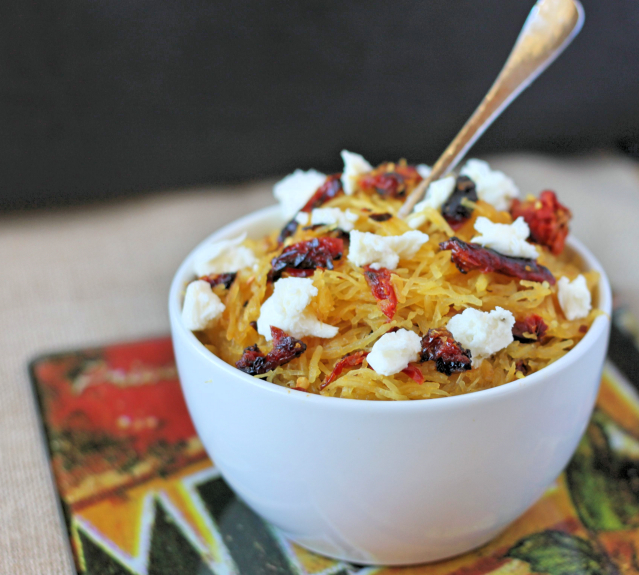
Spicy Basil Spaghetti Squash with Sun-dried Tomato
Simple weeknight healthy dish everyone should add into their rotation.
Ingredients
1 small spaghetti squash
1 whole garlic clove
½ tablespoon Luna Olivo Basil Olive Oil
¼ cup sun-dried tomatoes, not in oil
pinch of red pepper flakes
4 oz. of fresh mozzarella cheese
pinch of sea salt
Instructions
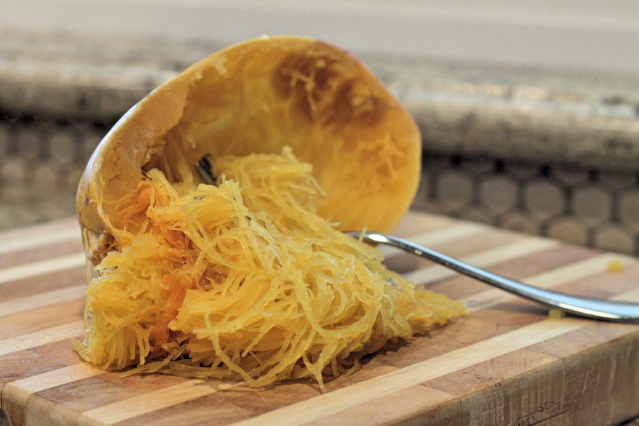
Prepare the spaghetti squash, one of two ways. 1. For microwave method: Split in half with a sharp knife. Place face down on a microwave safe plate. Pour ¼ cup of water on the bottom of the place and cover with plastic wrap. Microwave for 8 minutes. Let sit for 5 minutes. Remove from microwave with hot pads. With a fork pull the 'noodles' out of the squash. set aside. 2. For oven method: Split in half with sharp knife. Place face down on a foil covered baking sheet. Bake at 450 degrees for 30 -40 minutes until flesh can be pierced with a fork easily. Remove from oven and let cool till it is easy to handle. Remove 'noodles' from squash, set aside.
Add the olive oil into a hot large sauté pan. Put the clove of garlic in the pan and let the garlic infuse the oil by swirling it around the oil for 2 - 3 minutes. Remove the garlic.
Add the tomatoes and the red pepper flakes to the oil and sauté for 1 - 2 minutes.
Add the spaghetti squash to the pan. Saute for 2 minutes and add salt. Toss the squash with the ingredients, then remove to two separate plates.
Top each plate with half of mozzarella. Serve immediately.
It’s that time of year where the resolutions have been broken and you might be contemplating never making one again. Chances are, working out or eating healthy was one of those resolutions. Before you give up, you should figure out the reason you are giving up. For instance, maybe getting up at 4:15 a.m. isn’t for you. Or a gym membership is too expensive. Even better, you don’t want to be a part of the meat market atmosphere in a standard gym.
I stopped my gym membership last year. Not only did I hate the meat market atmosphere, but also waiting for a treadmill, and fighting for a spin bike. I’ve been working out at home since then. Trying to figure out what I wanted to trade the gym out for.
In December I had a brilliant idea, a metaphorical lightbulb went off. Why not try all of the different options out there? From there I can decide what works best for me, my schedule and my body.
I know I am not the only one trying to figure out what works for me. I’m sure everyone reading this has the same issue. The guilt from a stagnant gym membership is probably killing you. Your unkept resolution still haunting you. I’m sure you would love to find your ‘thing’. So why not share my experiences with all of you, making your decision easier as well.
In this series of posts I will write about my experience at each of the non-gym establishments I visited. I will give you an idea of what to expect, the price point and my take on it. I have and will be attending a full variety of establishments from barre classes to personal trainers to free options.
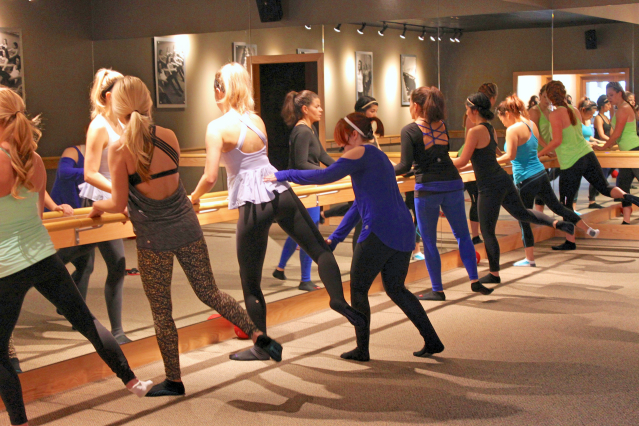
The first non-gym facility I checked out was the new Pure Barre located in Rancho Cucamonga. Lets just say I was ecstatic when owner Ashley Sinkeldam enthusiastically agreed to be a part of this series. Ever since I heard there was a Pure Barre opening five minutes from my house I’ve been dying to try it out.
Ashley recently opened the Rancho location in October of 2014. Even though the gorgeous studio is still in it’s infancy, she and her instructors are well seasoned vets to the Pure Barre way of life. They are a cohesive unit of *ledge sculptors that take their job seriously.
The Pure Barre Rancho Team – top: Courtney, Ashley (owner), Michelle R. , bottom: Jamie, Michelle G.
I’ll be honest, I had pre-conceived notions about what to expect. Almost all of them were completely wrong. I thought the fact that there was ballet barre in the room meant that there was some ballet involved. Technically, no. I thought that it would not be as hard as it was. It was harder than I could have ever expected, and I LOVED that.
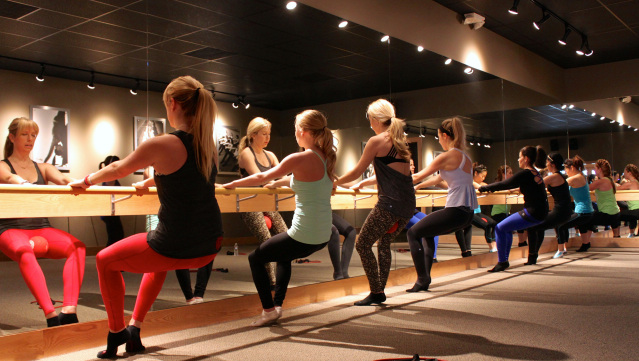
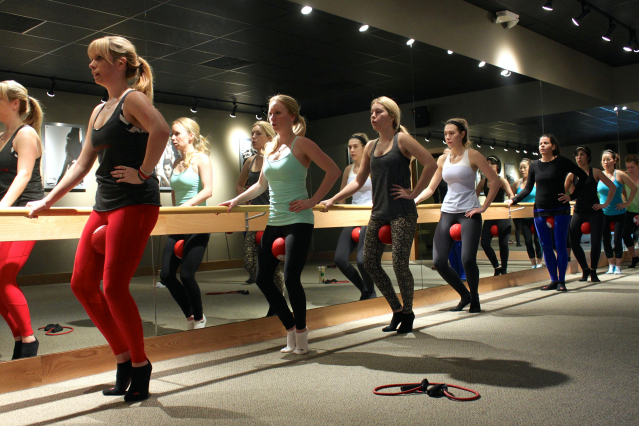
Each class is 55 minutes of booty burning, lifting, toning goodness. There are no breaks, so you are getting more than your moneys worth for the short time you are there. It takes a class or two to get used to the lingo and the movements, but once you do, you will be tucking, shaking and squeezing to perfection. There is a ‘Breaking Down the Barre’ class once a month that I would suggest to all newbies, (next one is January 17th @11 a.m.).
Don’t be scared to try this out, yes the pictures above show every girl in Lululemon attire, but that is only because the entire Lululemon staff came in to take a class together the day I was taking pictures. I have been to four classes so far, and there are all shapes and sizes in each class.
Don’t be scared to get the technique right away. The amazing instructors are very hands on and will correct you in a loving way. No one will even notice. All the other members are too busy embracing their shake (it means change is happening), and maintaining their own technique. There are modifications for newbies.
Do make sure you go in early on your first class to talk with the instructor about the lingo. Knowing how to tuck properly makes a huge difference.
Do ask questions if you have them. Like “when you say to move an inch is it really an inch?”. Small isometric moves people.
Do keep going even though the first class might be overwhelming. You will get stronger and more knowledgeable with each class. Set a goal for yourself, to hold a move longer, or lose the modifications eventually.
Do go at your own pace, everyone has different skill levels and strength. You are only in competition with yourself. Repeat that to yourself.
What it is: Pure Barre is a mesh of pilates, and yoga, utilizing isometric movements to “lift, tone, and burn” (#LTB) every inch of your body without any high impact moves.
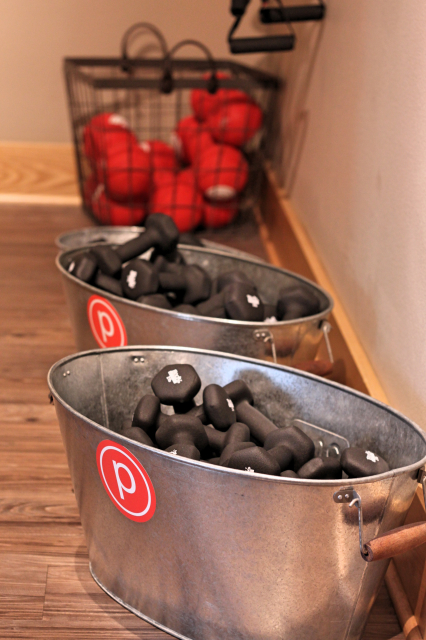
What to bring: Just yourself in pants (no shorts allowed) and a tank, socks and some water. They sell grippy socks for $12, which I would recommend, so you don’t slide all over the place. All the equipment is provided.
What to expect: Each class starts out with a warm up, then stretching. From there you will head to the barre where you will earn your shake. Figuratively and literally. Expect to stretch right when you need it most. After the barre you will head to the floor for targeted excercises. that will lift your ledge and tone your abs. All followed by a much needed final stretch.
Where: 8792 19th Street, Rancho Cucamonga, CA 91701. Click here for a location nearest you (there are 200 locations). To call the Rancho location, dial (909) 944-4978.
When: There are classes seven days a week. Click here to find a time that works for you.
Cost: $25 a class, if you buy them as a single class. Each studio has a special price your first month $99 unlimited classes, this is what I reccomend.. It’s a an awesome deal! BONUS: If you mention Decadently Fit you will get a bonus week free**! Click here to sign up!
Why I really love it: Pure Barre targets muscles that I never work out on my own. I was extremely sore the first time, and I work out quite a lot. In just four classes I am are already seeing signs of the infamous *ledge. I love the fact that all of the exercises are low impact. I can’t wait to see what a month of classes will do!
Ready to join me at the barre?
*ledge – adjective – the lack of space between your booty and the top of your thigh. a.k.a. an extremely lifted and toned booty. LOVE.
**Must purchase one month before adding the free week on.
Disclosure: I was not compensated to review the classes at Pure Barre. The fee for four classes was waived so that I could experience and review them for purposes pertaining to my blog series. My absolute love for this type of exercise and the opinions expressed in this post are entirely my own.
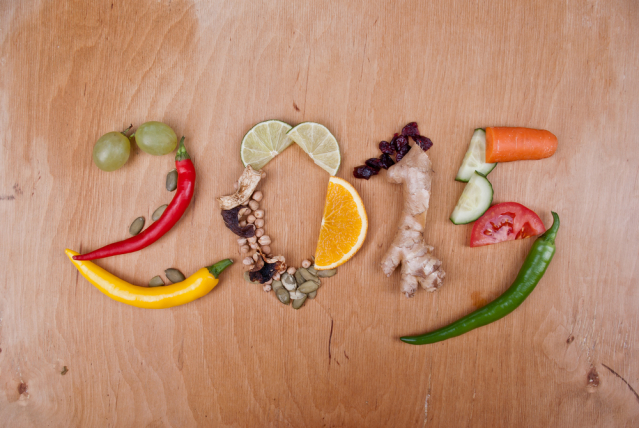
Another year in the books. Another year that went by at warp speed. Is it just me, or does every year seem to go by faster and faster? It feels like I live in a constant whirlwind.
2014 was a great year for Decadently Fit! I learned a lot about how to be a healthier me, in turn sharing it with all of you. I reviewed two handfuls of wonderful healthy cookbooks and was able to give them away to my wonderful readers.
I spent a ton of time with the amazing people at Melissa’s Produce sampling their stunning produce and eating the best food prepared by their chefs.
I am so excited to start a new year blogging in 2015! I have many changes coming to streamline my approach. New philosophies that I want to try out, and new goals.
Speaking of goals here are a few of mine related to health and fitness:
1. Conquer my sweet tooth once and for all
2. Lose fat and gain muscle
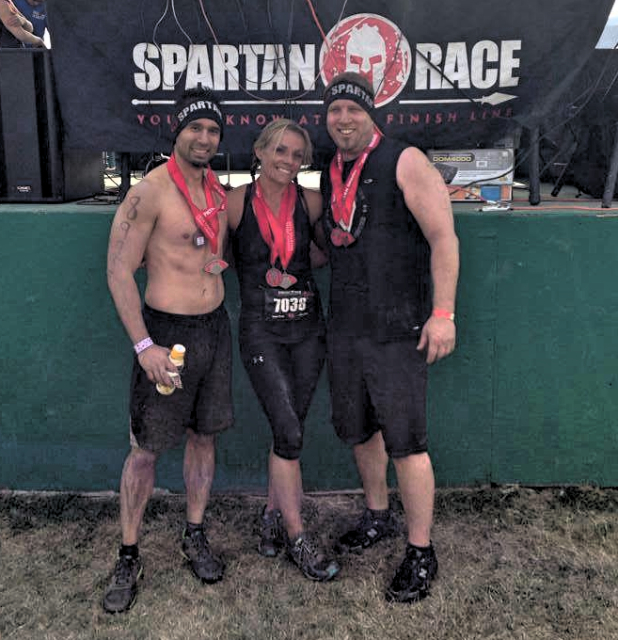
3. Do a Spartan Race or Tough Mudder
4. Run a half marathon
5. Start teaching healthy cooking classes
6. Inspire as many people as I can to become the best versions of themselves, whatever that is to them.
What are your goals? Use the comment section below to make it official by telling us what you want to achieve in 2015. You are 45% more likely to complete a goal if you write it down. Come on, tell me, I would love to encourage you!
Without further ado, here is the 10 best recipes of 2014: